







⏱ Read time: 7 min 📊 Difficulty: Intermediate 🔧 Time: 2 days 👷 Manpower: 2 people
Most people know that concrete needs to be mixed, poured and left to cure. The bit that separates the driveways and floors that look like a professional did them from the ones that look like the homeowner gave it a go on a Sunday afternoon is everything that happens in between compacting, screeding, floating, and finishing the surface before it goes off.
Getting the finishing stage right is where concrete tips from 'functional' to 'properly done'. And the equipment you use at each stage makes a significant difference not just to the appearance, but to the strength and longevity of the finished slab. A poorly vibrated pour develops honeycombing. An un-screeded surface is uneven. A slab that's never floated properly looks unfinished under every light condition you'll ever see it in.
At HSS DIY - The Home of Great Projects - you can hire the concrete mixer, the poker vibrator, the easy float, the power float and the surface grinder in one booking, with next day delivery. 'Buy the materials. Hire the tools. One order. All in one place.' Here's the full guide to the finishing sequence, and exactly which equipment covers each step.
Related: Driveways, Paths and Patios: Which Concreting Equipment Do You Actually Need to Hire?
Why Finishing Makes or Breaks a Concrete Pour
Concrete doesn't harden because it dries it hardens because of a chemical reaction between the cement and water called hydration. Once that process starts, you have a limited working window. During that window, everything you do to the surface and structure of the pour determines the quality of the finished product.
A slab with trapped air voids is weaker than it should be sometimes significantly so. A slab that hasn't been screeded to a consistent level will show uneven settlement, pooling water and visible high and low spots. A surface that hasn't been floated properly will dust and surface-powder within months of use. None of these are cosmetic issues they're structural and durability problems that cost money to fix after the concrete has set.
The good news: the right equipment makes each finishing step faster and more effective than trying to do it by hand. Here's the sequence:
The Concrete Finishing Sequence Step by Step
Step 1 - Mix: Hire the cement mixer or concrete mixer. Electric tip-up for domestic jobs off a 110v supply; petrol for remote plots. Mix to the correct ratio standard C25: 1 cement : 2 sharp sand : 3 aggregate. Don't add excess water to make it easier to work with. It weakens the finished slab noticeably.
Step2 - Pour and Spread: Pour in sections and spread with a rake or shovel to rough formation level. Keep the concrete moving if it starts to go off in the mixer or the barrow, it's done. Don't add more water to revive it.
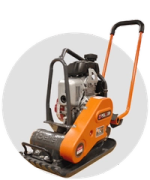
Step 3 - Compact/Vibrate: Insert the poker vibrator into the concrete at 450mm intervals, hold until bubbling stops (usually 5-15 seconds), withdraw slowly. On a driveway or flat slab, use the wacker plate on the sub-base before pouring. The poker is for the poured concrete, not the sub-base.
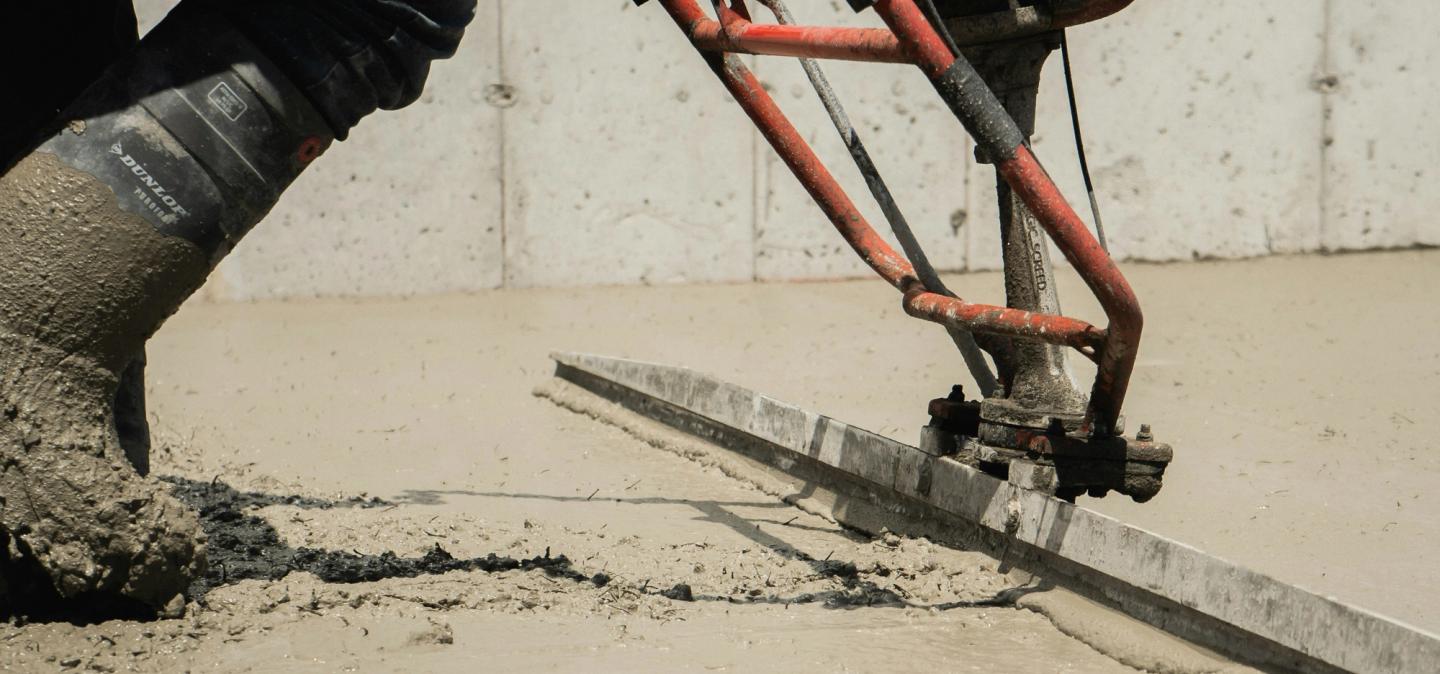
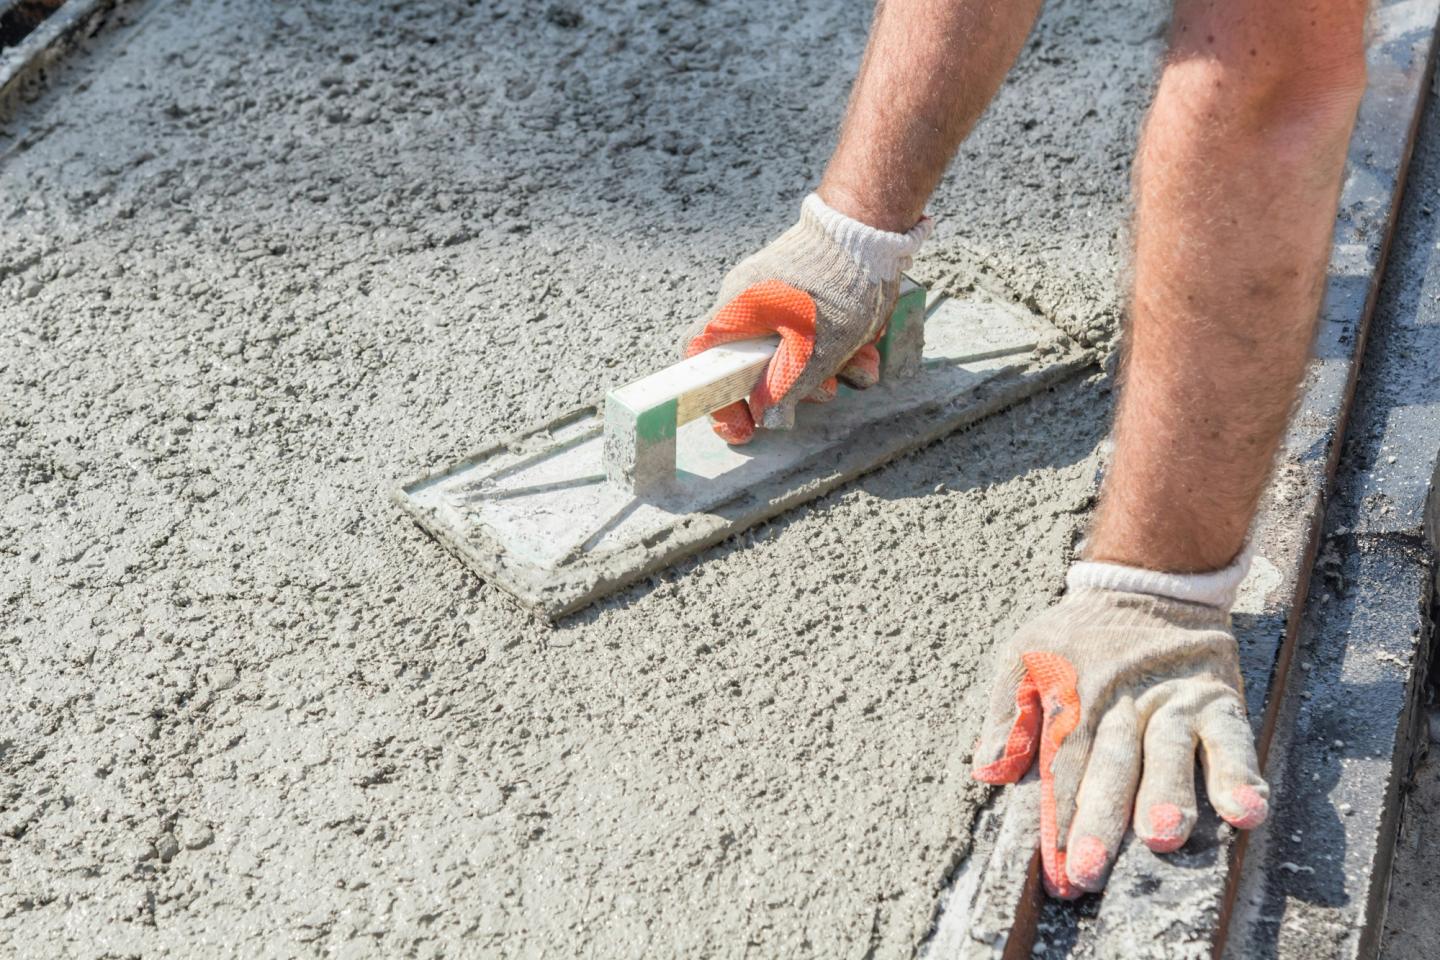
Step 4 - Screed: Level the concrete to your formation level using a tamping beam or screed board dragged across the shuttering. The easy float used immediately after screeding before the concrete stiffens smooths the surface and brings fines to the top.
Step 5 - Power Float: For a smooth, closed finish on a large slab (garage floors, large driveways), the petrol power float runs across the surface once the concrete has started to stiffen but is still workable. In a sixth of the time taken by hand. Not required for all projects a broom finish on a driveway is often preferred for grip.
Step 6 - Cure: Cover with polythene or damp hessian for 24-48 hours. Keep off for 24 hours on foot, 5-7 days before vehicle traffic. Full strength develops over 28 days.
Project at a Glance
Day 1 Morning (2-3hrs)Sub-base and Shuttering: Lay and compact sub-base with the wacker plate (75-100mm hardcore, compacted). Set shuttering/formwork level, with a slight drainage fall. Check buried services have been identified. All materials and mix water to hand before starting.
Day 1 Afternoon (3-4hrs)Mix, Pour, Compact and Screed: Mix batches in the cement mixer, pour in sections, spread, vibrate with poker, screed to formation level with tamping beam or easy float. Work in manageable sections don't get ahead of the floating. Two people: one on the mixer, one spreading and tamping.
Day 1 Late Afternoon (1-2hrs) Float and Finish: Easy float across the surface once it begins to stiffen. Power float if smooth finish required. Brush finish if grip is needed (driveways, external paths). Cover with polythene for curing.
Day 2 and Beyond Cure: Leave for minimum 24-48 hours before foot traffic. 5-7 days before vehicle use. Equipment cleaned, concrete mixer drum washed out, returned to HSS DIY on the agreed date..
The Equipment What Each Machine Does and When to Use It
🔄 Electric ConcreteMixer110v Tip-Up | Hire | 110v | RCD adaptor runs off domestic supply
Audience: DIY and trade | Step: Step 1 Mix
Mixes up to 85 litres per batch. Tip-up drum for easy discharge into a barrow. 110v runs safely off a standard household socket via a transformer included in the hire pack. Clean the drum with water after every batch and thoroughly at end of day. Hardened concrete inside a hired mixer is exactly as unpleasant to deal with as it sounds.
Hire Electric Concrete Mixer 110v
⛽ Petrol Concrete Mixer | Hire | Petrol | No power supply needed
Audience: DIY and trade remote sites | Step: Step 1 Mix
Same 85-litre tip-up capacity without the power supply requirement. The go-to when the pour is away from the house or where running a 110v cable isn't practical. Fuel not supplied arrange before the machine arrives. Petrol models are louder than electric fair warning for the neighbours.
📦 110v Concrete Mixer HirePack | Hire | Mixer, transformer and extension lead included
Audience: DIY and trade domestic projects off household supply | Step: Step 1 Mix
The most cost-effective hire option for domestic projects. Mixer, 110v transformer and extension lead in one booking no hunting for a transformer separately. Order the materials in the same transaction.
Hire 110v Concrete Mixer Hire Pack
📳 Electric Poker Vibrator (110v) | Hire | 110v | Flexible drive shaft
Audience: DIY and trade | Step: Step 3 Compact
Removes trapped air from freshly poured concrete. Inserted at 450mm intervals and held until the concrete stops bubbling usually 5-15 seconds per location. Flexible drive shaft prevents excessive bending. Requires 110v supply via transformer. Essential for any pour over 150mm deep, columns, footings and anything with reinforcement mesh.
⛽ Petrol Poker Drive Unit (50mm) | Hire | Petrol | For remote pours without power
Audience: Trade remote sites or larger pours | Step: Step 3 Compact
Petrol-driven vibrating poker for sites without a 110v supply. 50mm head is an all-round size for most domestic pour depths. Fuel not supplied. Petrol models for outdoor use only carbon monoxide risk in enclosed spaces.
Hire Petrol Poker Concrete Drive Unit
📐 Easy Float Long Handle Aluminium | Hire | Telescopic to 5.5m | Solo use
Audience: DIY and trade | Step: Step 4 Screed and float
A float on an adjustable handle that extends to 5.5 metres allowing you to smooth and finish freshly poured concrete from the edge without walking on the wet surface. Used immediately after screeding to smooth the surface and bring fines to the top. Use it once the concrete has started to stiffen slightly but is still workable. The most commonly used concrete finishing tool in domestic pours.
🔵 Power Float Petrol Finishing Disc | Hire | Petrol | Large smooth-finish slabs
Audience: Trade and confident DIY garage floors, workshop slabs | Step: Step 5 Power float
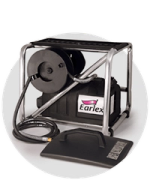
Finishes a large concrete slab to a smooth, closed, dense surface in a sixth of the time it takes by hand. For garage floors, workshop slabs and any internal concrete that will receive a coating or sealer. Petrol-driven. Timing is critical too early and it sinks, too late and it tears. Used once the surface will support the machine's weight without leaving footprints.
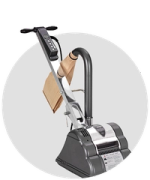
🔧 Floor Grinder Surface Preparation | Hire | For coating preparation post-cure
Audience: DIY and trade before applying epoxy, resin or concrete paint | Step: Step 6 Surface prep for coatings
For any slab that's going to receive a floor coating epoxy, resin, concrete paint or sealant the surface needs mechanical preparation before coating adhesion will work properly. The floor grinder with diamond disc opens the pores of the cured concrete and creates the key the coating needs. Use minimum 28 days after the pour.
Hire Surface Preparation Equipment
Concreting Equipment | Surface Preparation | Compaction Equipment
Hire or Buy? The Concrete Finishing Equipment Verdict
Concrete finishing equipment sits firmly in hire territory for most projects. A power float costs upwards of £800 new and you'll use it for one afternoon every couple of years if you're prolific. An electric poker vibrator is under £20 to hire for the day. Buying specialist concreting equipment for occasional use is one of those decisions that looks reasonable at the point of purchase and becomes a storage and depreciation problem very quickly.
The concrete mixer is the one item where the hire vs buy calculation depends on frequency. If you're concreting twice a year or more, a mid-range mixer starts to make sense. For a one-off pour, hire it.
Watch Before You Pour
- HSS DIY YouTube youtube.com/@HSSDIY Equipment guides and project content from The Home of Great Projects. Check for concrete mixing and finishing content.
- HSS DIY Blog How to Mix Concrete HSS DIY's own guide to mix ratios, method and material quantities.
Case Study: DIY Garage Slab Getting the Finish Right First Time
The project: New concrete slab for a single garage extension. 18m², 150mm depth, C25 mix, smooth power-floated finish for a sealed workshop floor.
Equipment hired: 110v electric concrete mixer, poker vibrator, easy float and power float all from HSS DIY in one order. Wacker plate hired the previous weekend for sub-base compaction.
Day 1: Two people. One on the mixer, one spreading and compacting. Poker used on every batch as poured. Easy float pass once all concrete was in. Power float run late afternoon once the surface had started to stiffen. Entire 18m² poured and finished in approximately 7 hours.
The finish: Smooth, level, consistent surface. A floor grinder was hired three weeks later to lightly key the surface before applying epoxy sealer also from the HSS DIY surface preparation category.
Cost: Hire across two weekends: approximately £240. Materials (cement, ballast, sand for 18m²): approximately £280. Total: around £520. Contractor quote for the same pour: £1,800.
Safety Concrete Is More Hazardous Than It Looks
Concrete is a material most people treat casually. It shouldn't be. Cement burns, respiratory hazard from dust, HAVS from vibrating equipment and CO from petrol machines are all genuine risks that are easy to manage with the right approach and right PPE.
- Cement burns are serious: wet concrete is alkaline at pH 12+. Direct skin contact causes cement burns that are often painless until hours later and then they're genuinely nasty. Wear rubber or nitrile gloves throughout the pour, floating and clean-up. Change gloves immediately if they're breached
- Eye protection no optional about it: concrete splashes during pouring and vibration. An unprotected eye catching a splash of wet concrete is not a good Saturday. Goggles rather than safety specs concrete doesn't respect the sides
- Steel toe-cap boots: full buckets, concrete mixers and barrows are heavy. Falls and spills are common on concrete pours. S3 boots with steel toe-cap and midsole
- Dust mask when handling cement: cement dust is a respiratory irritant and COSHH-classified hazardous material. Wear a P2 mask when cutting open bags, emptying into the mixer, and during clean-up
- Power float keep hands clear: the power float blade rotates at speed. It is not a complicated machine but it demands respect. Keep feet and hands well clear of the disc guard when running. Only operate when the concrete is at the right stage too soft and it sinks; too stiff and it tears
- Petrol equipment outdoors only: petrol concrete mixers and petrol poker vibrators produce CO exhaust. Never use in an enclosed garage, outbuilding or basement. Fresh air throughout
- HAVS wacker plate and poker vibrator: both produce vibration. Follow HSE daily exposure action values the wacker plate ELV is 2.5m/s2 A(8). Take regular breaks. If your hands are tingling after use, stop and rest
COSHH guidance on cement: hse.gov.uk/coshh. PPE gloves, goggles, boots, dust masks available to buy at HSS DIY alongside your hire.
Project Checklist: Concrete Pour and Finishing
Before the pour:
- Buried services checked: linesearchbeforeudig.co.uk free, essential before any sub-base excavation
- Sub-base compacted: 75-100mm MOT Type 1 hardcore or sharp sand, wacker plate in overlapping passes, formation level checked with spirit level
- Shuttering set: level (with appropriate drainage fall), secure, checked for square
- Mix ratio confirmed: C25 standard (1:2:3) for driveways and slabs; C20 acceptable for paths and light-traffic patios
- All materials on site: cement, ballast/sand, mix water ready before the mixer starts
- Equipment ready: cement mixer running, poker vibrator on site, easy float assembled, wacker plate for sub-base done
- PPE on: rubber gloves (cement burns), safety goggles, steel toe-cap boots, dust mask when handling cement bags
During the pour:
- Pour in sections: don't pour the whole slab at once work in manageable sections you can vibrate and screed before the mix stiffens
- Vibrate every pour: poker at 450mm intervals, held until bubbling stops. Work systematically across each section
- Screed to formation: tamping beam or easy float dragged across shuttering to level
- Don't add water to a stiffening mix: if it's going off, it's done. Adding water produces weak concrete
After the pour:
- Float finish: easy float pass once concrete begins to stiffen. Power float for smooth slab finishes
- Cure immediately: polythene or damp hessian over the surface. Don't skip this it's critical to final strength
- Equipment cleaned: cement mixer drum washed out with water after every batch and thoroughly at end of day. Hardened concrete inside a hired mixer will cost you a cleaning charge
- Don't walk on for 24-48 hrs: no vehicle traffic for 5-7 days minimum
The Difference Is in the Finishing. Get the Equipment Right.
Mixing and pouring concrete is the part everyone focuses on. The finishing is the part that determines whether it looks like a professional did it or like someone had a go. The equipment that covers those finishing stages poker vibrator, easy float, power float, and ultimately the surface grinder if coatings are going on is all available from HSS DIY in one order, with next day delivery.
Book the mixer and the finishing equipment at the same time. Buy the materials in the same order. Arrive on site with everything you need and the right knowledge of what to do with each piece of kit. The concrete will do the rest.
For more on the full concreting project including driveways, patios and paths: Driveways, Paths and Patios: Which Concreting Equipment Do You Need?
Hire the Right Equipment. Finish It Properly.
Browse the full concreting and surface preparation hire range at hss.mom/hire/c/concreting-compaction online 24/7, next day delivery. Buy your cement, ballast and sand in the same order.
Buy the materials. Hire the tools. One order. All in one place.
Get DIY Happy.
Full safety guidance on all machine product pages at hss.mom. PPE goggles, ear defenders, gloves, boots available to buy at HSS DIY alongside your hire booking.
Useful External Sources
The Concrete Centre Mix Design and Curing: concretecentre.com Technical guidance on concrete mix ratios, specification and curing for residential and commercial projects.
HSE COSHH Guidance on Cement: hse.gov.uk/coshh Regulatory guidance on controlling exposure to cement dust and wet concrete, including PPE requirements.
HSS DIY Blog How to Mix Concrete: HSS DIY concrete mixing guide HSS DIY's own guide covering mix ratios, method and material quantities.
HSS DIY YouTube: youtube.com/@HSSDIY Equipment guides and project content from The Home of Great Projects.
Frequently Asked Questions
What is the best concrete mix ratio for a driveway or patio?
For a driveway that takes vehicle traffic, a C25 mix is the minimum 1 part cement, 2 parts sharp sand, 3 parts coarse aggregate (20mm gravel) by volume. This gives sufficient strength for regular vehicle loading. For a patio or path with foot traffic only, a C20 mix (1:2.5:3.5) is adequate. The most common mistake is adding extra water to make the mix easier to work with this weakens the final result significantly. The mix should be firm enough to hold its shape when squeezed but still workable.
How much does it cost to hire a cement mixer or concrete mixer?
Electric concrete mixer hire from HSS DIY starts from approximately £35 per day, with petrol models from around £45 per day. The 110v mixer hire pack which includes the mixer, transformer and extension lead in one booking is the most cost-effective option for domestic projects off a standard household supply. Prices vary by location and hire period. Weekly hire rates are available for larger programmes. Check live pricing at hss.mom before budgeting rates vary by location and availability.
Do I need a poker vibrator for a domestic driveway or patio pour?
For standard domestic driveways and patios with depths of 100-150mm, a poker vibrator is recommended but not absolutely essential if you're working quickly and tamping the surface properly. For deeper pours foundations, columns, retaining walls or any poured depth over about 150mm a poker vibrator is the difference between a sound pour and one with voids and honeycombing. It's also genuinely useful on any pour where the concrete has to flow around reinforcement mesh. Hire one alongside the mixer it's a low additional cost and makes a meaningful difference to the finished result.
When should I use a power float on concrete?
A power float produces a smooth, dense, closed surface ideal for garage floors, workshop floors and any internal concrete slab that will receive a resin or epoxy sealer. For external driveways, a broom or brushed finish is often preferable because the rough texture provides grip in wet conditions. Timing is critical: the power float should be used once the concrete has started to stiffen but is still workable typically 1 to 3 hours after finishing the screed pass, depending on the mix, temperature and weather. Too early and the machine sinks into soft concrete; too late and it tears the surface.
How long does concrete take to be ready for traffic?
As a general guide: light foot traffic after 24-48 hours, vehicle traffic after 5-7 days minimum. Full design strength develops over 28 days this is a property of the cement hydration process and can't be rushed by leaving a thinner slab or a warmer environment. Protecting the concrete during the first 24-48 hours of curing is as important as the pour itself cover with polythene or damp hessian to prevent surface moisture evaporating too fast, particularly in warm or windy weather.
What surface preparation is needed before applying a floor coating to concrete?
Before any epoxy, resin, paint or sealant goes onto a concrete slab, the surface needs to be mechanically prepared either by shot blasting, diamond grinding or acid etching to open the pores of the surface and provide a mechanical key for the coating to bond to. HSS DIY hires floor grinders in the surface preparation category at hss.mom. The concrete should also be fully cured (minimum 28 days), clean, dry, and free from any oil, grease or curing compound residue. A grinder with the appropriate diamond disc is the standard professional approach for this preparation stage.
Prices shown are indicative hire and buy rates as of May 2026 and subject to change. Always check hss.mom for current pricing. HSS ProService Ltd.
Useful External Sources
HSE - Hot Work and Steam Safety: hse.gov.uk/temperature/hot-work.htm - HSE guidance on burns risk from steam and hot water in workplace and domestic environments. Relevant for understanding PPE requirements.
RHS - Patio Cleaning and Moss Control: rhs.org.uk/advice/profile?pid=407 - The Royal Horticultural Society's guidance on controlling algae, moss and lichens on hard landscaping. Includes steam vs chemical treatment comparison.
HSS DIY Blog - Steam Cleaner Guide: HSS DIY What You Need to Know About Steam Cleaners - HSS DIY's own guide to steam cleaning equipment, what each type is for and how to use them.
HSS DIY YouTube: youtube.com/@HSSDIY - Equipment guides and project content from The Home of Great Projects.
Meet the people behind our Tips & Advice
From quick fixes to bigger DIY projects, get to know the people behind the guides helping you get the job done with confidence.