



















⏱ Read time: 8 min 📊 Difficulty: Intermediate🔧 Time to build: 1 -2 days 👷 Manpower: 2 people
There's a particular kind of weekend project energy that strikes in spring. The driveway has been looking sorry for itself since about 2019. The patio has that greenish tinge that no amount of jet washing is shifting. And someone - possibly you, over a second cup of tea on a Sunday morning - has decided that this is the year it gets properly sorted.
A concrete driveway, path or patio is absolutely achievable as a DIY project. But the most common mistake isn't getting the mix wrong or pouring too fast. It's turning up on the day without the right equipment or hiring more than you actually need and blowing the budget before a single bag of cement is opened.
This guide cuts through the noise. We'll tell you exactly which equipment to hire from HSS DIY for each type of project, which you can skip, how much a DIY concrete driveway is likely to cost, and how to get a finish you're actually happy with. At HSS DIY - The Home of Great Projects - you can hire the equipment and buy your materials in one order, with next day delivery. 'Buy the materials. Hire the tools. One order. All in one place.'
First: Which Project Are You Actually Doing?
Before you start booking equipment, it helps to be clear on what kind of surface you're creating - because a concrete driveway has different requirements to a garden path, and those differences affect the depth, mix strength and equipment needed.
Concrete Driveway: 150mm concrete depth over 100mm compacted hardcore. C25 concrete mix. Must withstand vehicle weight. Reinforcement mesh recommended. Shut to traffic for minimum 5 to 7 days after pouring.
Patio or Terrace: 100mm concrete depth over 75-100mm compacted sub-base. C20 mix is sufficient for foot traffic. Allow good drainage falls away from the house - typically 1:60 gradient. Cure for 24-48 hours before use.
Garden Path: 75-100mm concrete depth. C20 mix. Narrower projects can be managed with less plant - a smaller mixer and light wacker plate are usually plenty. The most beginner-friendly of the three.
External reference: Planning Portal - Check whether your driveway project needs planning permission before you start.
.
Weekend Timeline - What Good Looks Like
Day 1 - Morning (2-3 hrs) - Preparation: Mark out the area, dig to the correct depth (100mm for paths/patios, 150mm for driveways), remove spoil, check for any buried services
Day 1 - Afternoon (2-3 hrs) - Sub-base: Lay 75-100mm of MOT Type 1 hardcore or sharp sand, compact in layers using wacker plate, check levels with a spirit level and set up any shuttering/formwork
Day 2 - Morning (3-4 hrs) - Mix and Pour: Set up concrete mixer, mix batches to correct ratio, pour and spread concrete, screed to level using a tamping beam or screed board
Day 2 - Afternoon + Cure (1-2 hrs active; 24-48 hrs curing): Finish surface with a float, protect from rain and frost during cure, leave for at least 24 hours before walking on it - 5 to 7 days before vehicle traffic
Which Equipment Do You Actually Need?
Here's the full picture - what's essential, what's useful and what you can skip depending on your project type. Every item links to the hire page at HSS DIY.
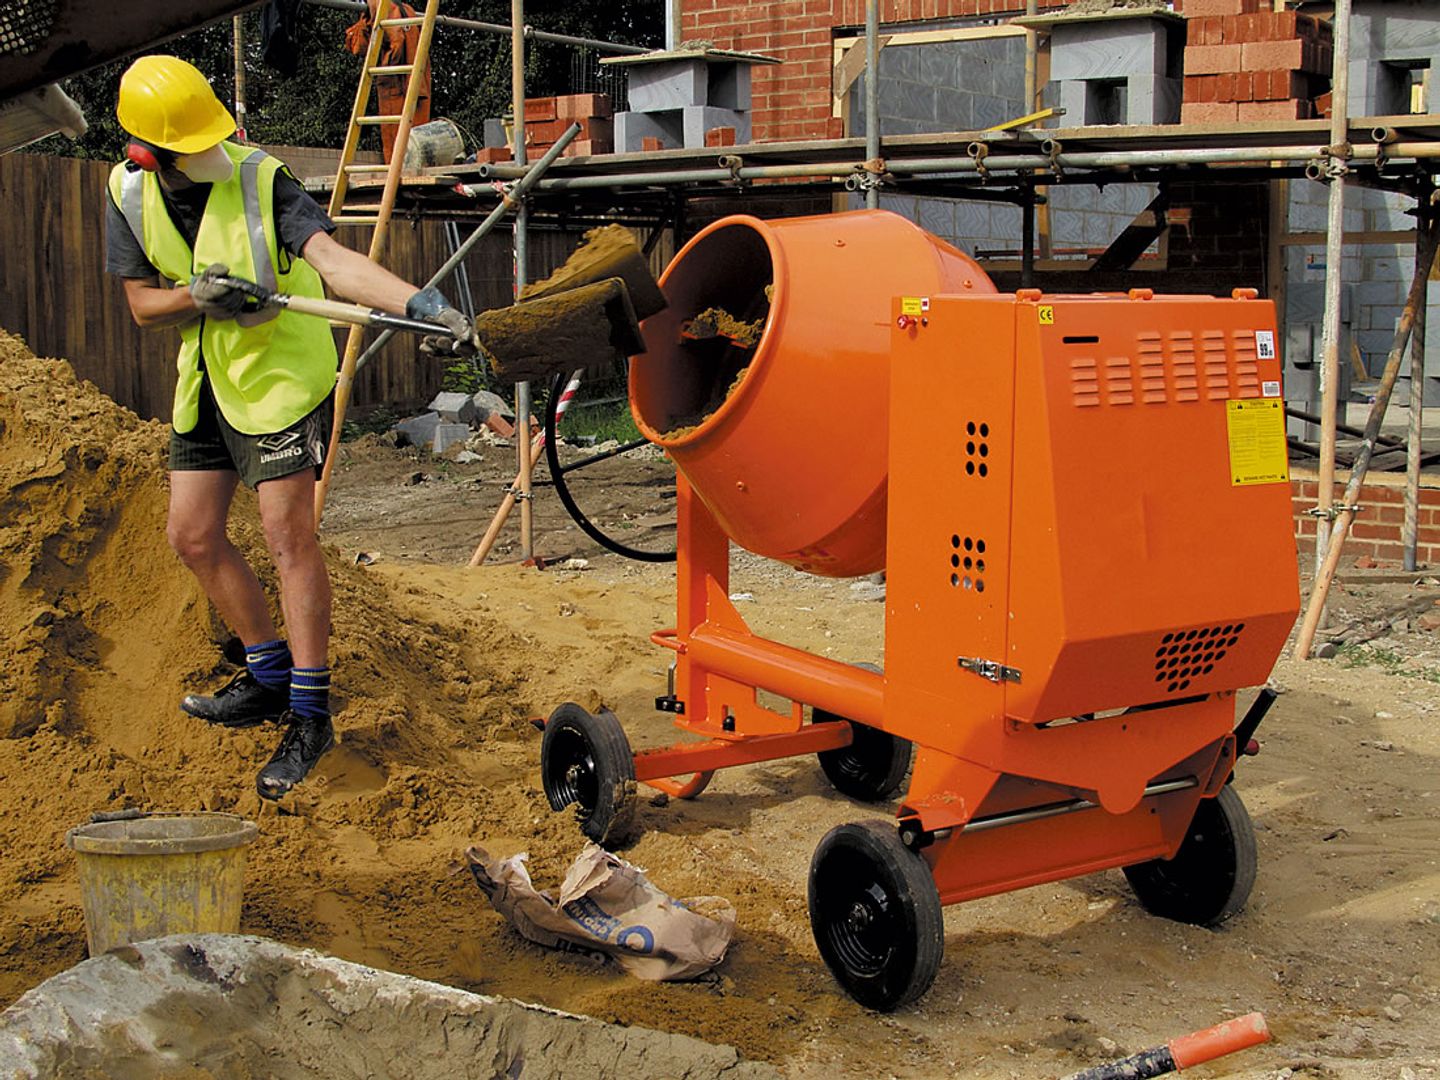
🔄Electric Concrete Mixer (110v) Hire Pack |Driveways | Patios | Paths
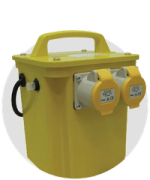
Mixes up to 85 litres per batch in about six minutes. Comes with transformer and extension lead in one booking - no separate sourcing needed. Quiet and no fumes. The go-to mixer for all three project types.
Hire Electric Concrete Mixer 110v Pack
⛽Petrol Concrete Mixer|Driveways | Patios | Paths
Same 85-litre tip-up capacity but no power supply needed - ideal if your driveway is remote from the house socket or you want more freedom to move the mixer around. Noisier than the electric, so be prepared for the neighbours noticing.
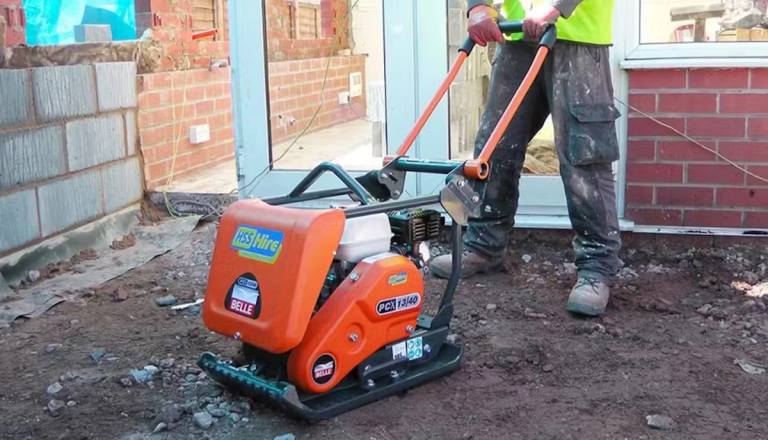
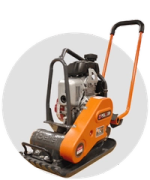
🔨Light Wacker Plate |Driveways | Patios | Paths
Compact the hardcore and sharp sand sub-base before you pour. Without this step the sub-base shifts, settles unevenly, and your concrete cracks. This is the most skipped piece of kit and the one that causes the most call-backs. Low hand-arm vibration for comfortable half-day use.
⚡Electric Wacker Plate (110v)|Patios | Paths
No petrol fumes, quieter, and easier to use in tighter garden spaces. Runs from a transformer - include this if you are working close to the house or in an enclosed garden where petrol fumes would be a problem.
Hire Electric Wacker Plate (110v)
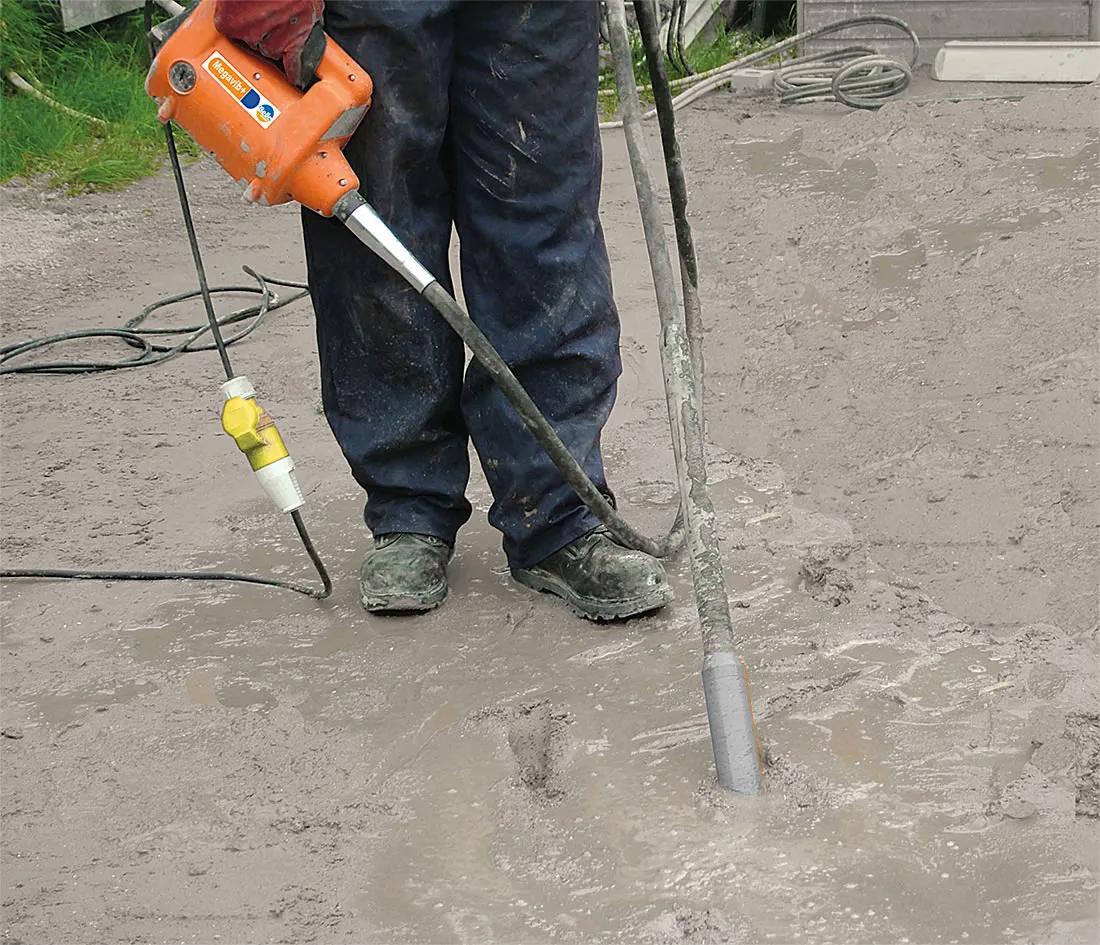
📳Electric Poker Vibrator |Driveways (recommended)
Inserted into wet concrete to remove trapped air bubbles. You can skip this on a garden path but it makes a real difference on a driveway pour - air pockets create weak spots that crack under vehicle weight over time.
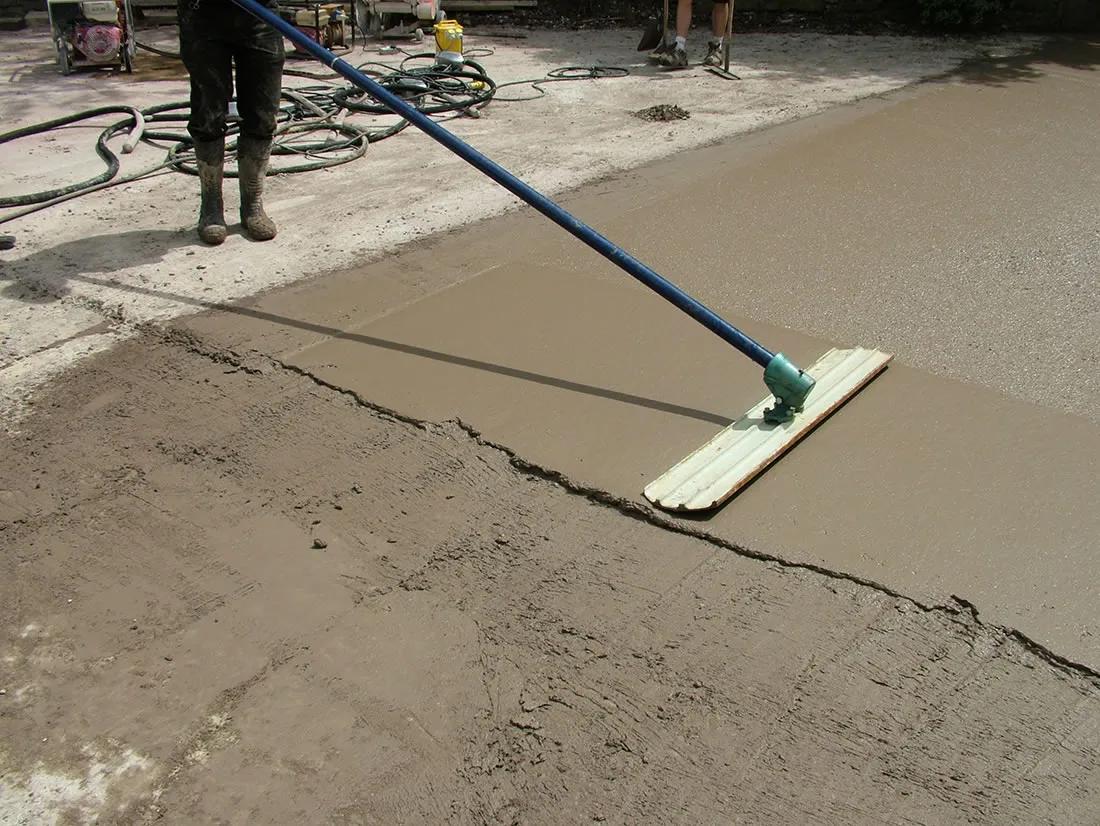
📐Easy Float (telescopic handle)|Driveways | Patios | Paths
A float on a long adjustable handle that extends up to 5.5 metres - you smooth and finish the concrete surface from the edge without walking on wet concrete. Essential for a clean, professional-looking finish. Simple to use, even for a first pour.
🔵Power Float (petrol)|Large driveways (optional)
Finishes a large concrete slab to a smooth, closed surface in a fraction of hand-float time. Worth hiring for driveways over about 20m² where you want a really flat, smooth result. Overkill for paths and patios.
🛠️Trowels & Floats (to buy)|All projects
Finishing trowels, magnesium floats and edging trowels from Faithfull, DeWalt and Ragni. These are cheap, useful on every future project, and not worth hiring. Add them to your order and keep them.
🏗️Building Materials - Cement, Ballast, Sand |All projects
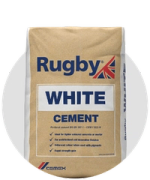
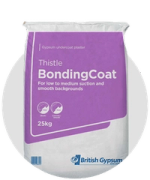
Buy your concrete materials in the same order as your hire. Cement, ballast, sharp sand and aggregate available to order at HSS DIY with next day delivery - no second trip to the builders merchant.
Full hire range: Concreting & Compaction Hire|All Concrete & Cement Mixers|Buy Building Materials
Three Pieces of Kit That Make the Real Difference
Out of everything on that list, these three are the ones that separate a job done well from a job done again in three years.
🔄Electric Concrete Mixer 110v Hire Pack - Start Here
For a DIY concrete driveway, path or patio, this is the one to book first. The 110v electric concrete mixer hire pack from HSS DIY comes with the mixer, transformer and extension lead in one booking - so there's no faffing around sourcing a transformer separately. It mixes up to 85 litres per batch in about six minutes and tips straight into a barrow. No fumes and much quieter than a petrol machine. If the neighbours give you a look, you can at least reassure them it won't sound like a lawn mower at 8am.
Hire the Electric Concrete Mixer 110v Pack at HSS DIY
🔨Wacker Plate - The Bit Most DIYers Skip (and Regret)
If you search 'how to concrete a driveway' online, about half the results gloss over sub-base compaction. Don't be fooled - this is the step that decides whether your concrete lasts 20 years or starts cracking in three. The wacker plate compacts the hardcore and sharp sand sub-base before you pour, closing the air gaps and creating a solid, stable foundation. You need this. The light vibrating wacker plate from HSS DIY is easy to operate, has low hand-arm vibration for safe use over a few hours, and it's designed for exactly this kind of domestic project. Hire it for the same day as your prep work, run it over the sub-base in overlapping passes, check your levels, and then move on to the pour.
Hire the Light Wacker Plate at HSS DIY
📐Easy Float - The Finisher You Didn't Know You Needed
Once you've poured and roughly levelled your concrete, the easy float is how you get a smooth, properly finished surface without walking on wet concrete and leaving boot prints everywhere (don't laugh - it's an extremely common problem). The handle extends up to 5.5 metres, so you can reach across the full width of most residential driveways and paths from the edge. Use it once the concrete starts to stiffen slightly - too early and it won't hold; too late and you're fighting it. Getting the timing right is part of the fun. Or the stress. Depending on your tolerance for perfectionism.
Hire the Easy Float at HSS DIY
How Much Does It Cost to Concrete a Driveway Yourself?
Typical contractor cost: £50–£100 per square metre laid (materials + labour). A 30m² driveway could cost £1,500–£3,000 professionally done.
DIY concrete driveway cost (hire + materials):
- Concrete mixer hire: from ~£35–£45/day
- Wacker plate hire: from ~£30–£35/day
- Cement, ballast and sand for ~30m²: approx. £200–£350 depending on mix and depth
- Shuttering timber, tools, PPE: £30–£60
- Total DIY estimate for a 30m² driveway: roughly £300–£500 all in - versus £1,500–£3,000 for a contractor
The saving: £1,000–£2,500 on a typical driveway - if you're comfortable with a two-day weekend project. The job is absolutely achievable as a DIY concrete driveway with the right kit.
All figures are estimates. Costs vary by region, depth of concrete, mix strength and whether you need to break out an existing surface. Check current material prices at hss.mom.
Should You Hire or Buy the Equipment?
For a one-off weekend project, hiring is almost always the right call on powered equipment. You'll use the concrete mixer and wacker plate for one weekend, possibly twice in your lifetime if you're ambitious. Buying either outright means finding somewhere to store them, maintaining them, and eventually selling them for a fraction of the purchase price. Hire it, return it, and spend the saving on something more interesting.
Hand tools are the exception - trowels, floats and levels are cheap, compact and useful on dozens of future projects. Buy those.
Watch Before You Start
These are worth an hour of your Sunday evening before pour day. No shame in watching someone else make the mistakes first.
- HSS DIY YouTube — youtube.com/@HSSDIY Project guides from The Home of Great Projects. Start here for concrete mixer and wacker plate how-to content.
- How to use a wacker plate - the HSS DIY wacker plate guide on the blog is worth a read before you collect the plate.
Case Study: DIY Concrete Driveway - 30m², One Weekend, Two People
The project: Front driveway replacement. Existing gravel removed, new concrete driveway poured. Area: roughly 5m x 6m (30m²). Existing sub-base was partly intact.
Equipment hired from HSS DIY: 110v electric concrete mixer hire pack, light wacker plate, easy float. Concrete breaker to remove a section of old edging. All ordered online the week before with next day delivery.
Day 1: Removed old gravel and weeds, topped up hardcore where needed, hired wacker plate to compact in two passes. Set up timber shuttering as edging. Total: about 7 hours with two people.
Day 2: Mixed and poured concrete in batches over four hours. Two people - one on the mixer, one spreading and tamping. Easy float used to finish the surface once it began to stiffen. Covered with polythene overnight.
Cost: Approx. £420 total - hire, materials, shuttering timber and PPE. A contractor quoted £2,100 for the same job. Saving: roughly £1,680.
Result: Solid, level driveway. Not a show garden finish, but genuinely good. Car was on it a week later with no issues.
⚠️ Safety First - Don't Skip This Section
Concrete is one of those materials that catches people off guard. It doesn't look dangerous - it's just grey mush - but a few hours of wet concrete on unprotected skin can cause burns that are genuinely nasty. Here's what to sort before you start:
- Rubber or nitrile gloves - essential: Wet concrete is alkaline (pH 12+). Direct skin contact causes cement burns, which can be serious and are sneaky - they often don't hurt until hours later. Wear waterproof gloves throughout
- Safety goggles: Concrete splashes. One flick of the trowel at the wrong angle and you'll know why goggles matter. Especially important during mixing and pouring
- Old clothes and waterproof boots: Concrete gets everywhere. Wear clothes you don't mind destroying. Steel toe-cap boots are ideal if you have them - full buckets and concrete mixers are heavy
- Wacker plate - don't rush: Wear ear defenders (petrol models are loud), check fuel before starting, and keep bystanders and pets clear. Low HAV models are easier on your hands over a few hours
- Buried services: Always check before digging. Hitting a cable or pipe is dangerous and expensive
- Petrol equipment outdoors only: Petrol concrete mixers produce exhaust fumes. Use outside in the open air only - never in an enclosed garage or outbuilding
- Don't pour in frost or heavy rain: Frost before the concrete has cured means the water in the mix freezes before the cement sets properly. The result is weak, crumbly concrete that won't last. Check the forecast the night before.
Full safety information for every piece of hire equipment is listed on the product pages at hss.mom. Gloves, goggles and dust masks are available to buy at HSS DIY - add them to your order at the same time as your hire.
DIY Concrete Driveway, Path & Patio Checklist
- Check the weather: Don't pour concrete when frost or heavy rain is forecast. Spring and summer weekends are ideal - avoid November to March for outdoor projects
- Mark out the area: Use pegs and string to mark the exact outline of your driveway, path or patio. Check it's square with a builder's square or the 3-4-5 triangle method
- Dig to depth: Concrete driveway: 100mm hardcore + 150mm concrete. Patio/path: 75mm sub-base + 100mm concrete. Add edging depth if using kerbs or shuttering
- Check for buried services. Hitting a gas pipe while digging is not an ideal Saturday
- Lay sub-base: MOT Type 1 hardcore or sharp sand, compacted in 75-100mm layers with the wacker plate. Check levels as you go - the concrete will follow the shape of whatever you pour onto
- Set up shuttering: Timber boards nailed to pegs act as your formwork. Check they're level (with a slight fall away from the house for drainage) and secure them properly before pouring
- Mix to the right ratio: Standard concrete for driveways: 1 part cement, 2 parts sharp sand, 3 parts aggregate (C25 equivalent). Don't add extra water to make it easier to pour - it weakens the final result
- Pour and tamp: Pour in sections, spread with a rake, then tamp down with a timber screed board levelled across the shuttering. Work in manageable batches
- Finish the surface: Use the easy float to smooth the surface from the edges once the concrete begins to firm up. Brush finish with a stiff brush if you want better grip (good for driveways)
- Protect and cure: Cover with polythene or damp hessian for at least 24-48 hours. Keep off for 24 hours on foot, 5-7 days before vehicle traffic
- Clean the mixer: Rinse the drum with water after every batch. Full clean at end of day - hardened concrete inside a hired mixer will result in a cleaning charge
Sorted. Now Go Concrete Something.
A concrete driveway, path or patio is one of those projects that genuinely transforms how a property looks and functions - and it's well within reach for a competent DIYer with the right kit and a spare weekend. The equipment list isn't as long or expensive as most people assume, and the cost saving versus a contractor is significant enough to make it worth the weekend of effort.
Book your equipment at HSS DIY, pick up your materials in the same order, and get it done before the summer is over. The mixer goes back on Monday, the driveway stays for 20 years.
Ready to Get Started?
Hire your concrete mixer, wacker plate, easy float and all the kit you need at hss.mom — online 24/7, next day delivery. Buy your cement, ballast and sand in the same order.
Buy the materials. Hire the tools. One order. All in one place.
Get DIY Happy.
Frequently Asked Questions
How much does it cost to concrete a driveway yourself in the UK?
A rough guide for a DIY concrete driveway is £300 to £500 all-in for a typical 30m² driveway - covering hire, materials, shuttering timber and PPE. A professional contractor would typically charge £50 to £100 per square metre including labour, so the same 30m² job could run to £1,500 to £3,000 with a tradesperson. The saving is significant and absolutely achievable over a weekend with the right kit from HSS DIY. See our cost breakdown section above for more detail.
How deep does a concrete driveway need to be?
For a driveway that takes regular car traffic, you need at least 100mm of compacted hardcore sub-base and 100-150mm of concrete on top - so a total depth of 200-250mm below the finished surface. Paths and patios that only see foot traffic can get away with 75mm sub-base and 100mm concrete. Getting the depth right is not an area to cut corners on - too shallow and it'll crack under vehicle weight within a couple of years.
Can I do a concrete driveway as a DIY project?
Yes, absolutely - a DIY concrete driveway is well within reach for a competent home DIYer who's happy with a weekend of proper graft. The key is having the right kit (concrete mixer, wacker plate and float are the three essentials), following the correct mix ratio, not adding extra water to the mix, and protecting the surface properly while it cures. Two people makes it significantly more manageable than going solo. The mixing, pouring and spreading needs to be done at a reasonable pace before the concrete goes off.
How long does concrete take to set on a driveway?
You can walk on freshly poured concrete after roughly 24 to 48 hours, but you should keep vehicles off it for at least 5 to 7 days. Full concrete strength develops over 28 days - so don't park a van on it the morning after pouring and expect it to be fine. Protecting the surface with polythene or damp hessian during the first 24-48 hours helps the curing process, especially in warm or windy weather where the surface can dry too fast and crack.
Do I need planning permission to concrete my driveway?
For most domestic front driveways, you'll need either planning permission or the driveway to be permeable (allow water to drain through) if the area is over 5m². Solid, impermeable concrete driveways on front gardens of over 5m² generally require planning permission under Permitted Development rules. Rear driveways and patios are usually exempt. The government's Planning Portal at planningportal.co.uk has a free tool to check your specific situation. Always worth a five-minute check before you start digging.
What concrete mix ratio should I use for a driveway?
For a concrete driveway, you want a C25 mix - roughly 1 part cement, 2 parts sharp sand and 3 parts coarse aggregate (20mm gravel) by volume. For paths and patios with foot traffic only, a C20 mix (1:2.5:3.5) is usually sufficient. The most common mistake is adding too much water to make the mix easier to work with - it weakens the final result noticeably. The mix should be stiff enough that it holds its shape when you grab a handful but still workable. If it slumps and runs, it's too wet.
Useful External Sources
Planning Portal — Driveway Guidance: Planning Portal - Check whether your concrete driveway needs planning permission. The government's official planning guidance tool.
The Concrete Centre - Mix Design & Curing: concretecentre.com - Technical guidance on mix ratios, curing times and concrete specification for residential projects.
HSS DIY YouTube: youtube.com/@HSSDIY - How-to guides and project tutorials from The Home of Great Projects.
Prices shown are indicative hire and buy rates as of 15 May 2026 and subject to change. Always check hss.mom for current pricing. HSS ProService Ltd.