









































⏱ Read time: 5 min 📊 Difficulty: Beginner 🔧 Time: 4 hours 👷 Manpower: 1 person
The floor sander hire arrives tomorrow morning. The machine does the heavy lifting, the results are dramatic, and the whole project is genuinely achievable over a weekend. But the part that determines whether those results are actually good - rather than 'fine, from a distance, in low light' - is what you do today.
Floor preparation is the most skipped part of a sanding project, and the most important. A drum floor sander tears through a protruding nail and stops dead. It won't smooth a gap you haven't filled. It can't fix a board that lifts off the subfloor halfway through. Thirty minutes of proper prep saves you hours of frustration on the day.
Step 1 - Check Your Floor Is Sandable
Yes to sanding: Solid hardwood and softwood floorboards, parquet, wood block, most engineered wood with a veneer of 3mm or more.
No to sanding: Laminate (it has a photographic top layer that sanding destroys), vinyl, LVT, and any engineered floor with a veneer under about 3mm - the drum will sand through to the ply core and there's no coming back from that.
Not sure? Check the edge of a board at a doorway. Solid wood is the same material all the way through. Engineered wood has a thin wood veneer on top of visible plywood layers. If you can't tell, contact the HSS DIY team via live chat before hiring.
Step 2 - Clear the Room Properly
All of it. Not 'most of it' or 'the big bits'. Every piece of furniture, every rug, every curtain and every trailing fabric. Fine wood dust settles on everything within a meaningful radius of the machine and inside cupboards left open and on bookshelves. Things left in the room will need cleaning. Things removed from the room won't.
Close every door leading out of the room. Open every window in the room. This is the ventilation requirement, not a preference - you need airflow through the space throughout the entire sanding process.
Step 3 - Deal With Every Nail, Staple and Tack
This is the step that catches more first-timers out than any other. The drum floor sander runs at high speed. If the sanding sheet catches a nail head protruding even a millimetre above the surface, it tears the sheet, stops the drum and - on older machines - can cause the nail to be ejected at speed. That's not something you want to test empirically.
- Walk the entire floor. Systematically. Look for any nail or fixing that isn't completely flush with the surface.
- Protruding nails: use a nail punch and hammer to drive every nail head approximately 3mm below the surface. Not flush - below. The sander will remove some wood and you want the nail safely below the finished surface.
- Old carpet tacks and staples: these need to come out entirely, not just be pushed down. Use pincers, a flat-headed screwdriver or a dedicated tack remover. Go along every skirting board edge where carpet is typically fixed.
- Lost-head nails and ring shanks: old floorboards often have multiple generations of fixings. Go over the floor twice - once systematically and once checking the joins between boards where fixings concentrate.
This takes as long as it takes. Don't rush it. It's twenty minutes of methodical work that saves a ruined sanding sheet and a frustrating start to the day.
Step 4 - Fix Loose and Squeaky Boards
Loose boards that flex under foot during sanding will produce an uneven result. Squeaky boards are loose boards - the squeak is the board moving against a fixing or a neighbouring board. Fix both now, before the sander arrives.
- Use screws, not nails. Screws hold better and won't lift over time the way nails can. Use a wood screw appropriate for the board thickness.
- Countersink the screw head. The head needs to sit at least 3mm below the surface - same logic as the nails. Use a countersink bit before screwing, or overdrive the screw slightly into the board.
- For boards that flex without squeaking: screw down at intervals along the board's length, not just at the ends. A long board with only end fixings can still bounce in the middle.
- Test after fixing. Walk every board you've repaired before moving on. If it still moves or squeaks, add another fixing. Finding this out mid-sand is annoying. Finding it out post-varnish is worse.
Step 5 - Fill the Gaps
Gaps between floorboards are normal in older properties. Wood expands and contracts seasonally and decades of central heating create gaps that weren't there originally. You don't need to fill every small gap - some character is fine. But anything that snags, collects dirt visibly or is wide enough to be noticeably ugly is worth addressing.
Small gaps (under 3mm): Decorator's flexible caulk or a proprietary floor sanding filler. Flexible caulk moves with the floor in seasonal changes - rigid filler can crack and lift. Dries in 2-4 hours. Sand when fully dry - do not rush this.
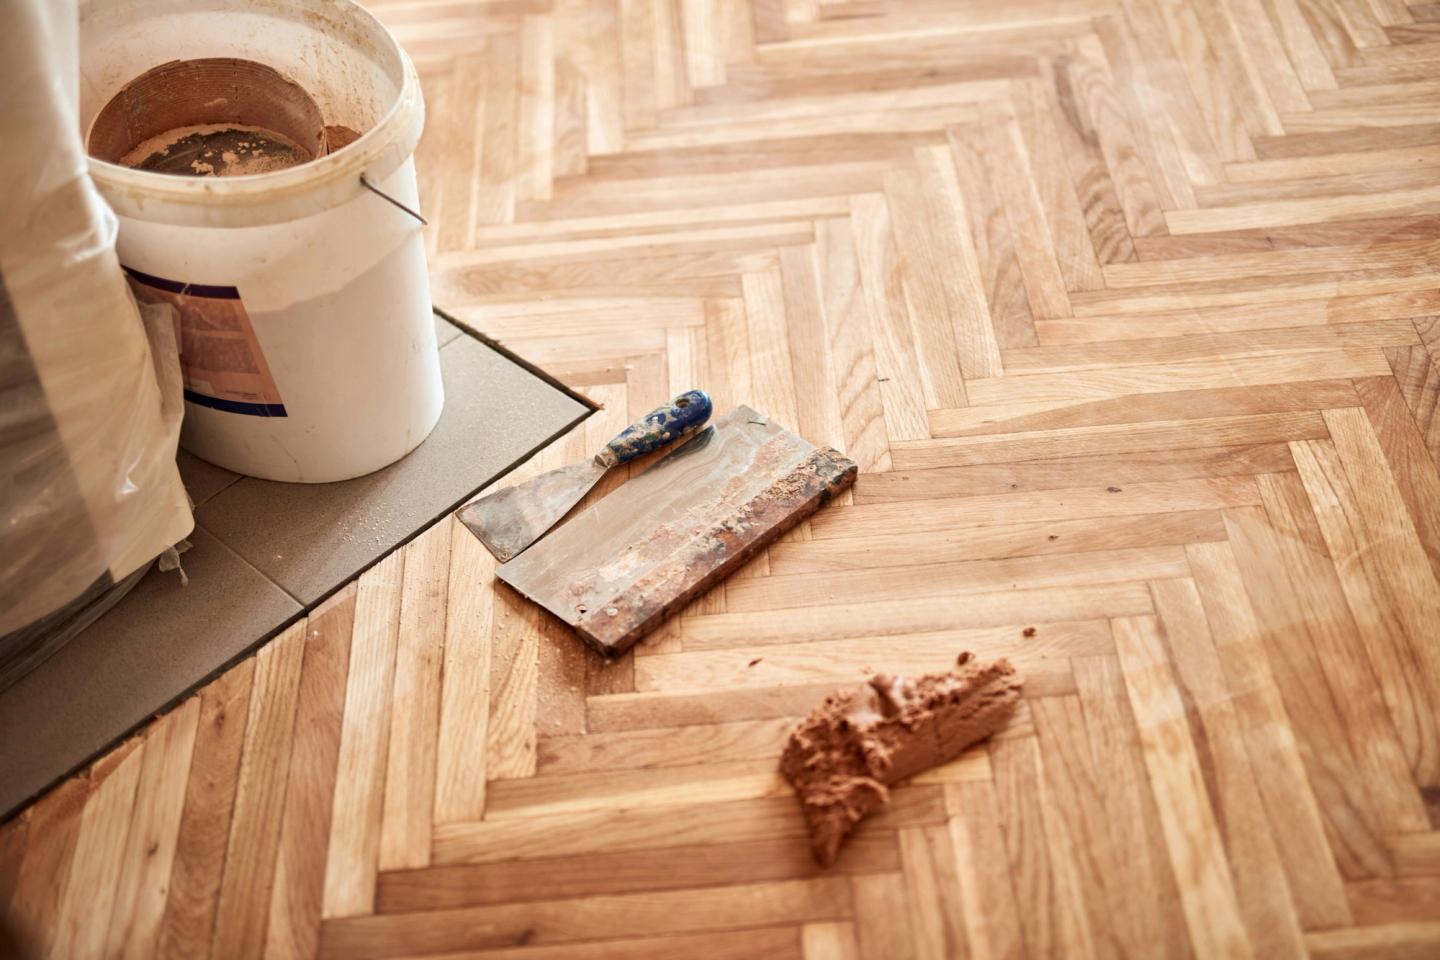
Medium gaps (3-8mm): A mix of fine sawdust from the first sanding pass mixed with wood glue or PVA to a thick paste. Apply with a filling knife, overfill slightly, allow to dry fully and then sand flush. This is free if you collect the dust from the first coarse pass - which feels deeply satisfying.
Large gaps (over 8mm): Thin timber slivers cut to fit and glued in place, or a two-part wood filler. For very wide gaps in old floors, a timber insert is a more durable long-term solution than any filler. Allow all adhesive to cure fully before sanding. Large gaps in a Victorian floor are often best left partially - they're part of the character - but anything that snags a sock needs sorting.
One thing that matters more than which product you use: let the filler dry completely before sanding. Sanding over wet or partially-dried filler drags it across the surface and causes smearing. If you're preparing the floor on Friday evening, let the filler dry overnight and sand on Saturday morning.
Step 6 - Tape Up, Tack Down, Open Up
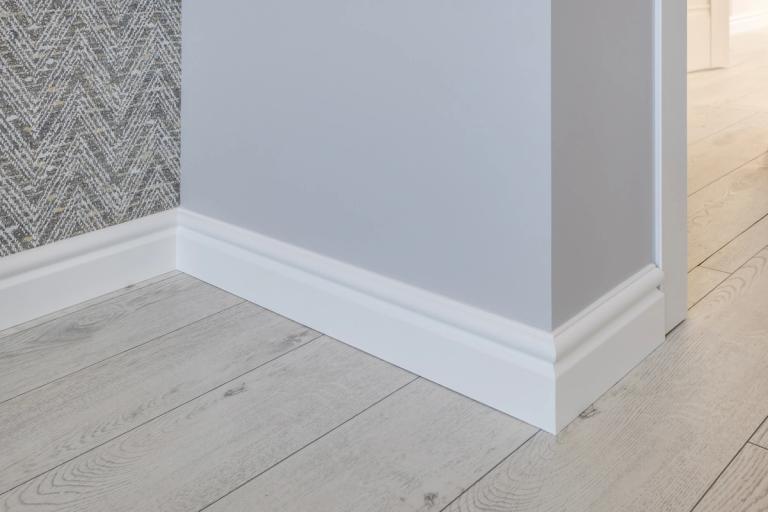
Cover every plug socket plate and light switch with masking tape. Fine wood dust works its way into electrical fittings and is both a nuisance and a minor fire risk. Cover any gaps in the skirting board or floorboard edges where dust could travel to other parts of the house.
If you have underfloor heating, check with the manufacturer before sanding — some systems need to be switched off 24 hours before sanding begins and the surface temperature needs to be below a certain point before you start.
And then: windows open. Room ventilated. PPE on. The floor is ready. The machine arrives in the morning.
Your Pre-Sanding Checklist:
- Floor type confirmed: solid hardwood, softwood, parquet or engineered wood. NOT laminate, vinyl or LVT
- Room cleared: all furniture, rugs, curtains and anything fabric moved out
- Nails punched: every protruding nail driven below the surface with a nail punch and hammer
- Staples and tacks removed: all old carpet fixings extracted with pincers or a screwdriver
- Loose boards fixed: squeaky or lifting boards secured with screws (not nails), countersunk below the surface
- Gaps filled: large gaps between boards filled and left to dry fully
- Squeaky boards tested: walk the room after fixing and listen. Any remaining squeaks addressed before sanding begins
- Sockets taped: all plug sockets, light switches and gaps covered with masking tape
- Windows opened: ventilate the room before the sander starts - not after you've been breathing the dust for twenty minutes
- PPE on: FFP2 dust mask, safety goggles, ear defenders ready before switching on
The Machines That Do the Work
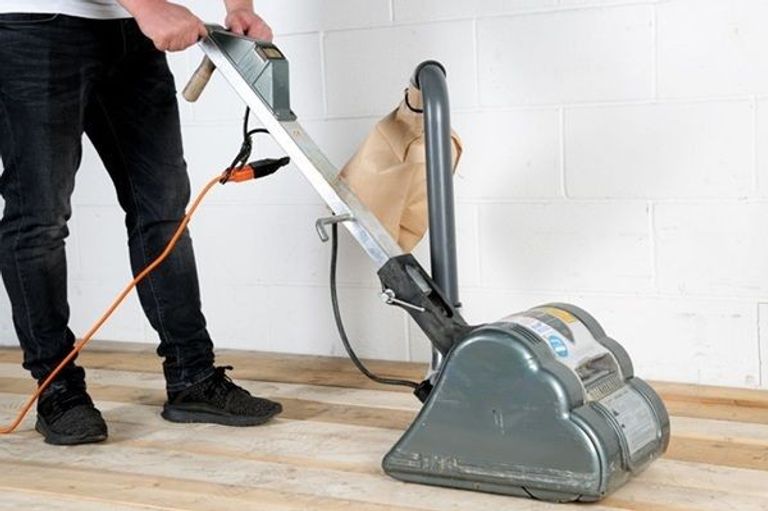
🔄 Drum Floor Sander (Hiretech HT8) | 240V | From ~£42/day | RCD breaker included
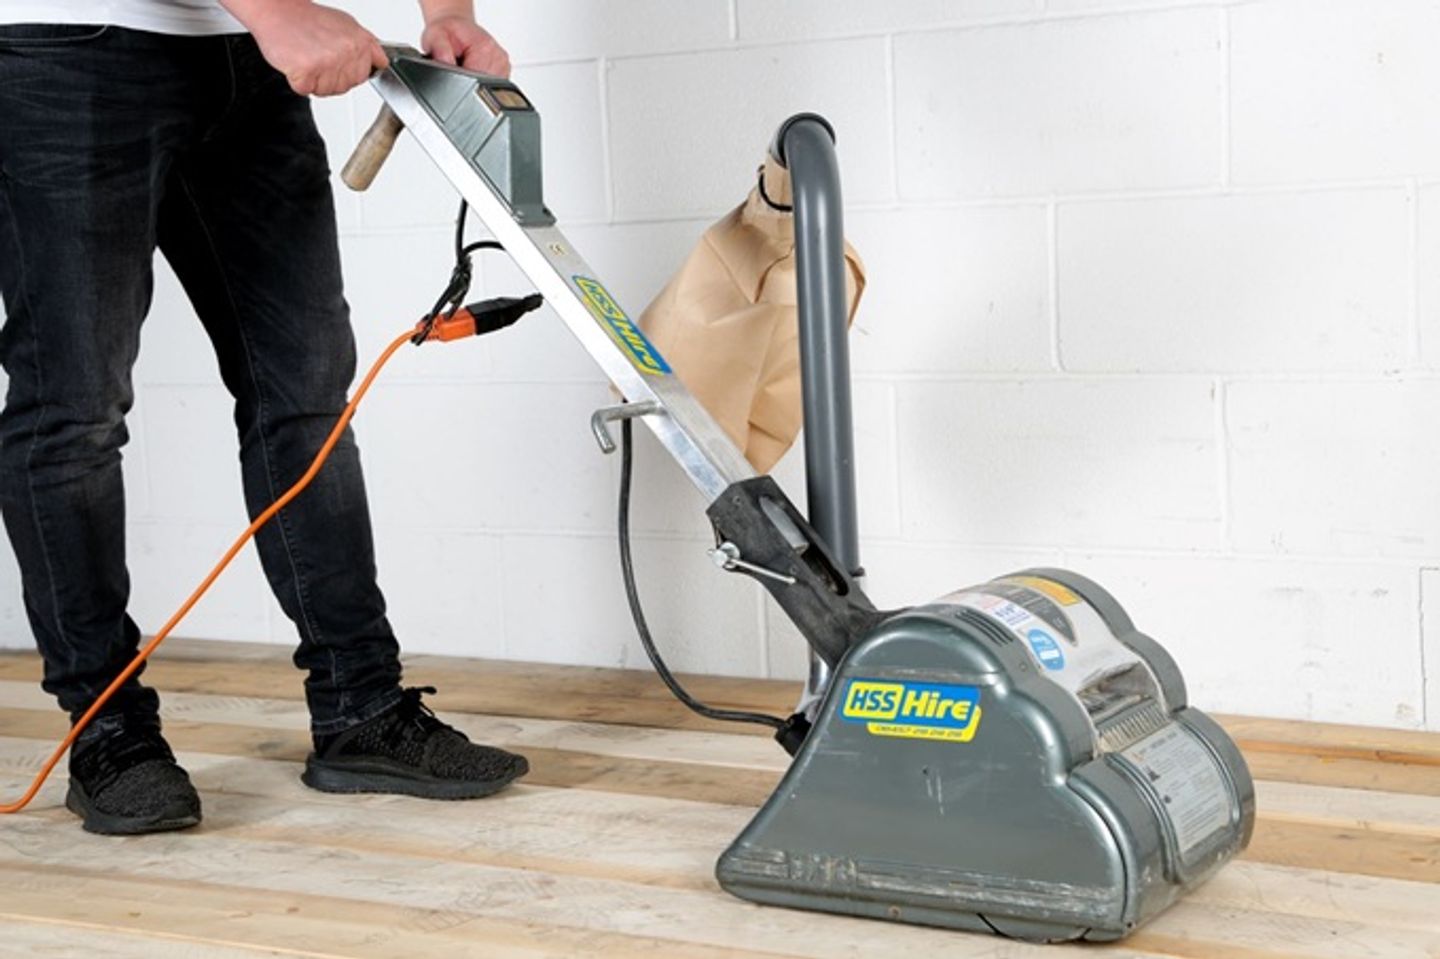
The machine that does the main floor area. Strips old finishes and levels boards. Every hire includes an RCD safety breaker. Must be used with a dust bag - add at checkout.
⭕ Floor Edge Sander | 240V | Add to same order
For the perimeter the drum can't reach. Sand right up to the skirting board on all four sides.
📦 Floor and Edge Sander HirePack | Both machines | Best value
Hire both together and save. The most cost-effective option for a whole room.
Hire Floor and Edge Sander Pack
Browse all floor sanding equipment: hss.mom/hire/c/sanding-fixing/floor-sanding-equipment
Now You're Ready, The Sander Does the Rest
Good preparation is the difference between a floor sanding project that goes smoothly and one that involves a lot of swearing and a torn sanding sheet before 9am. Get the prep right and the machine does its job without drama.
For the full step-by-step sanding guide, grit selection and finishing, read the complete floor sanding guide: Refresh Your Floors This May: A Beginner's Guide to Hiring a Floor Sander
Ready to Get Started?
Hire your floor sander and edge sander at hss.mom/hire/c/sanding-fixing/floor-sanding-equipment online 24/7, next day delivery. Add your sanding sheets, dust bags and floor finish in the same order.
Buy the materials. Hire the tools. One order. All in one place.
Get DIY Happy.
Frequently Asked Questions
Do I need to remove all furniture before hiring a floor sander?
Yes, all of it. The machine produces fine wood dust that settles on every surface in the room and beyond. Anything left in the room - including items inside open cupboards - will need cleaning down. It's far easier to move everything out in advance than to clean dust off upholstery afterwards. The room also needs to be clear so you can move freely with a large, heavy machine without obstruction.
Can I sand just part of a room if some areas are damaged?
Technically yes, but the results will be uneven because you can't perfectly match the depth of the existing finish on the unsanded sections. For best results, sand the whole room in one session - even if only part of it was obviously damaged. This is also more efficient in terms of hire time and material usage.
How long does floor preparation take before sanding?
For a standard room in reasonable condition - no significant damage, no major gap filling - a thorough preparation takes about two to three hours. A room with numerous protruding nails, multiple loose boards or significant gap filling needed can take a full morning. Budget the evening before the hire day for preparation rather than trying to prep and sand on the same day.
Prices shown are indicative hire and buy rates as of 15 May 2026 and subject to change. Always check hss.mom for current pricing. HSS ProService Ltd.