















⏱ Read time: 6 min 📊 Difficulty: Beginner 🔧 Time: 1-2 days 👷 Manpower: 1 person
Here is a scenario that plays out more often than you'd think. Someone books a drum floor sander, spends a very satisfying day watching years of varnish disappear from their old floorboards, applies two coats of fresh finish, stands back to admire the result - and notices a clearly visible strip around the entire perimeter of the room where the old varnish is still completely intact. The drum sander didn't reach it. Nothing reached it. The floor looks half-finished, and a second hire weekend is now on the cards.
The drum sander and the edge sander aren't two versions of the same thing. They do completely different jobs. You need both to do the project properly and understanding which does what - and in which order - makes the difference between a floor that looks professionally done and one that looks like a very good effort.
At HSS DIY - The Home of Great Projects - you can hire both machines in a single floor and edge sander hire pack, with next day delivery and sanding sheets and dust bags ordered in the same booking. Here's the complete guide to which does what, why you need both, and exactly how to use them together.
What Does Each Machine Actually Do?
Before the comparison, here's the plain English version of what each machine is for:
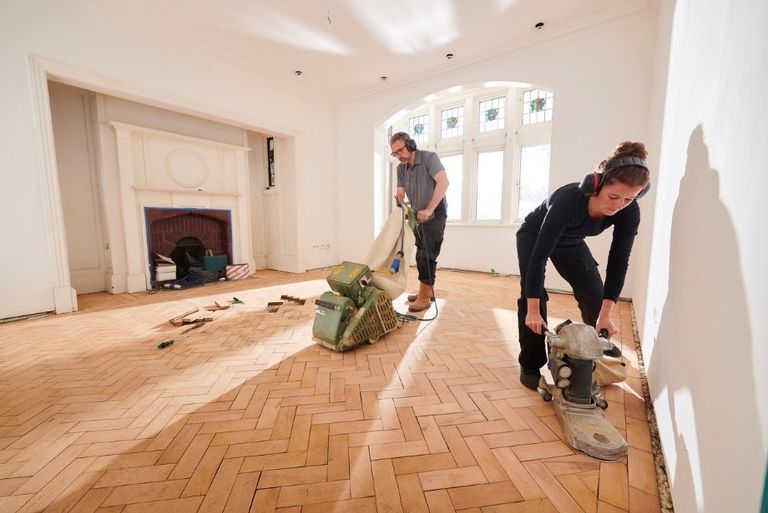
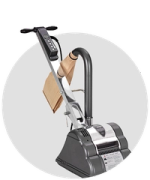
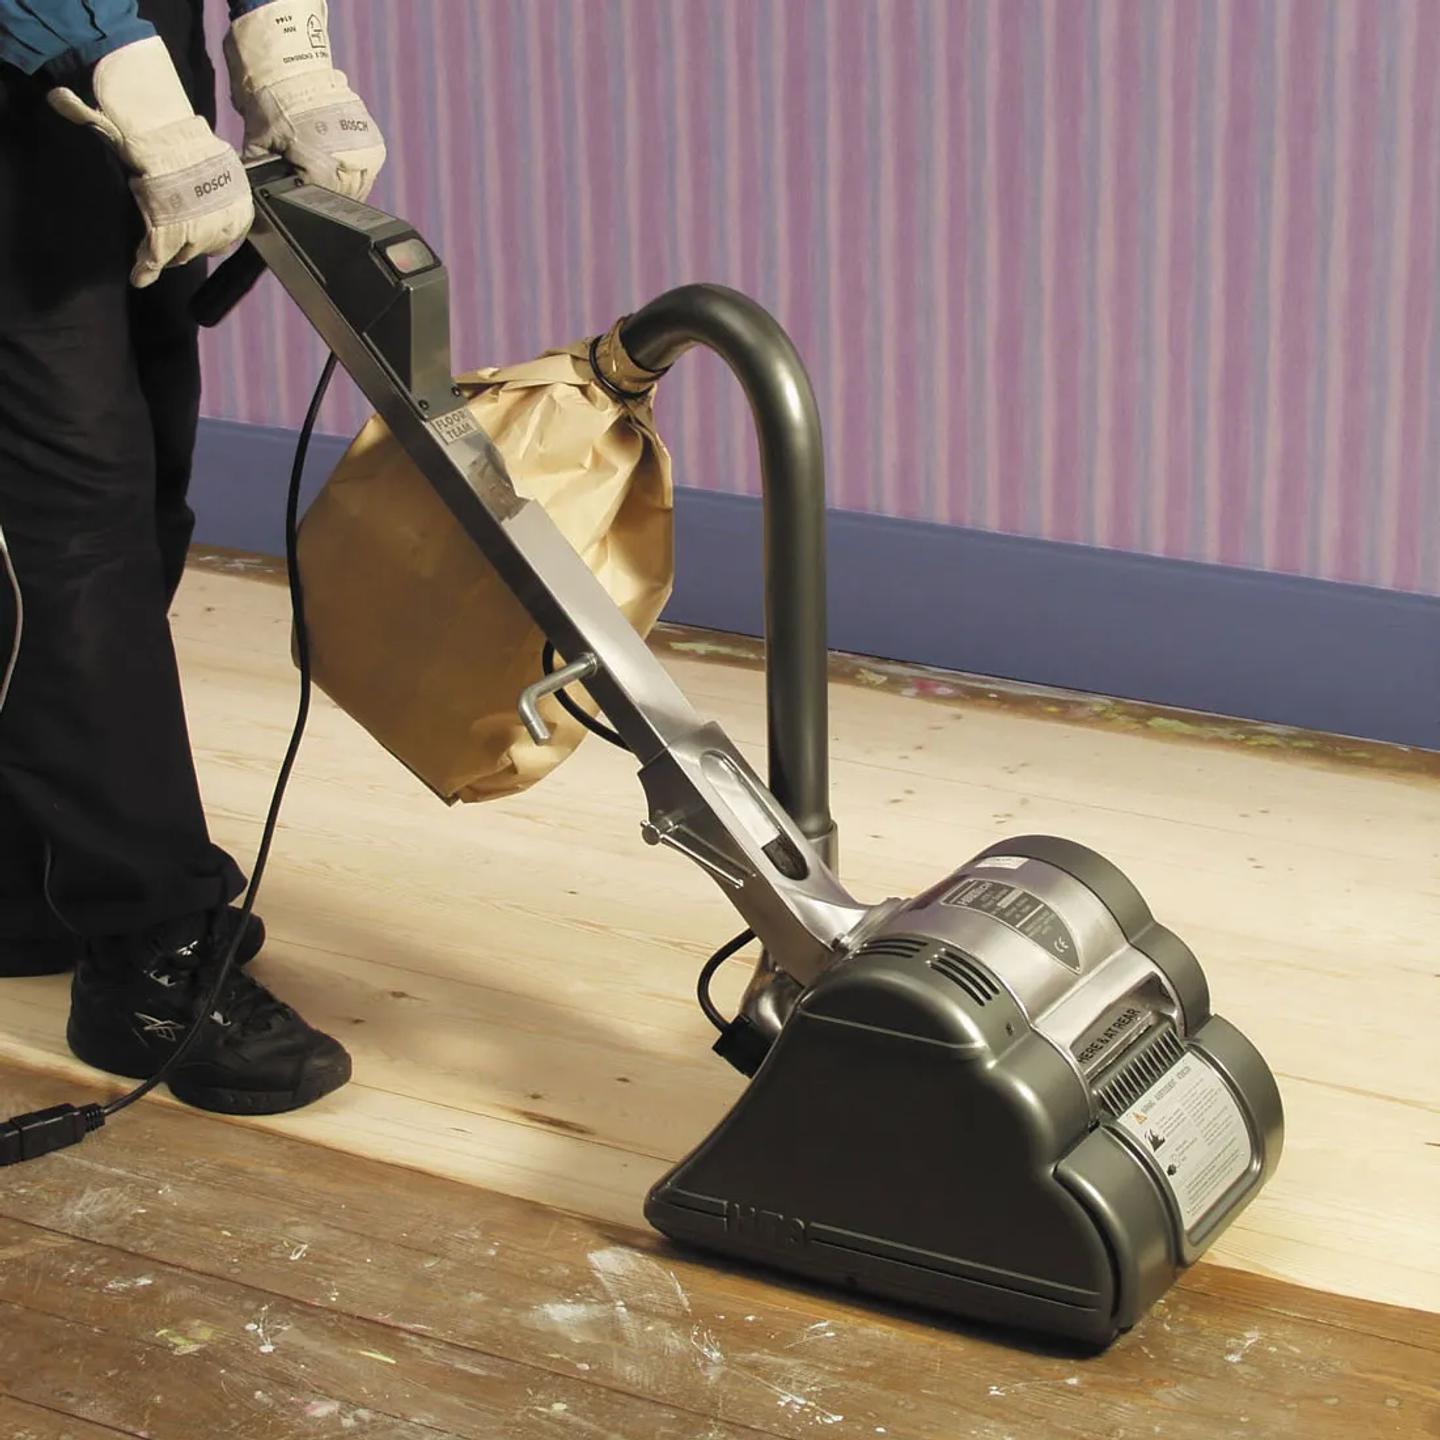
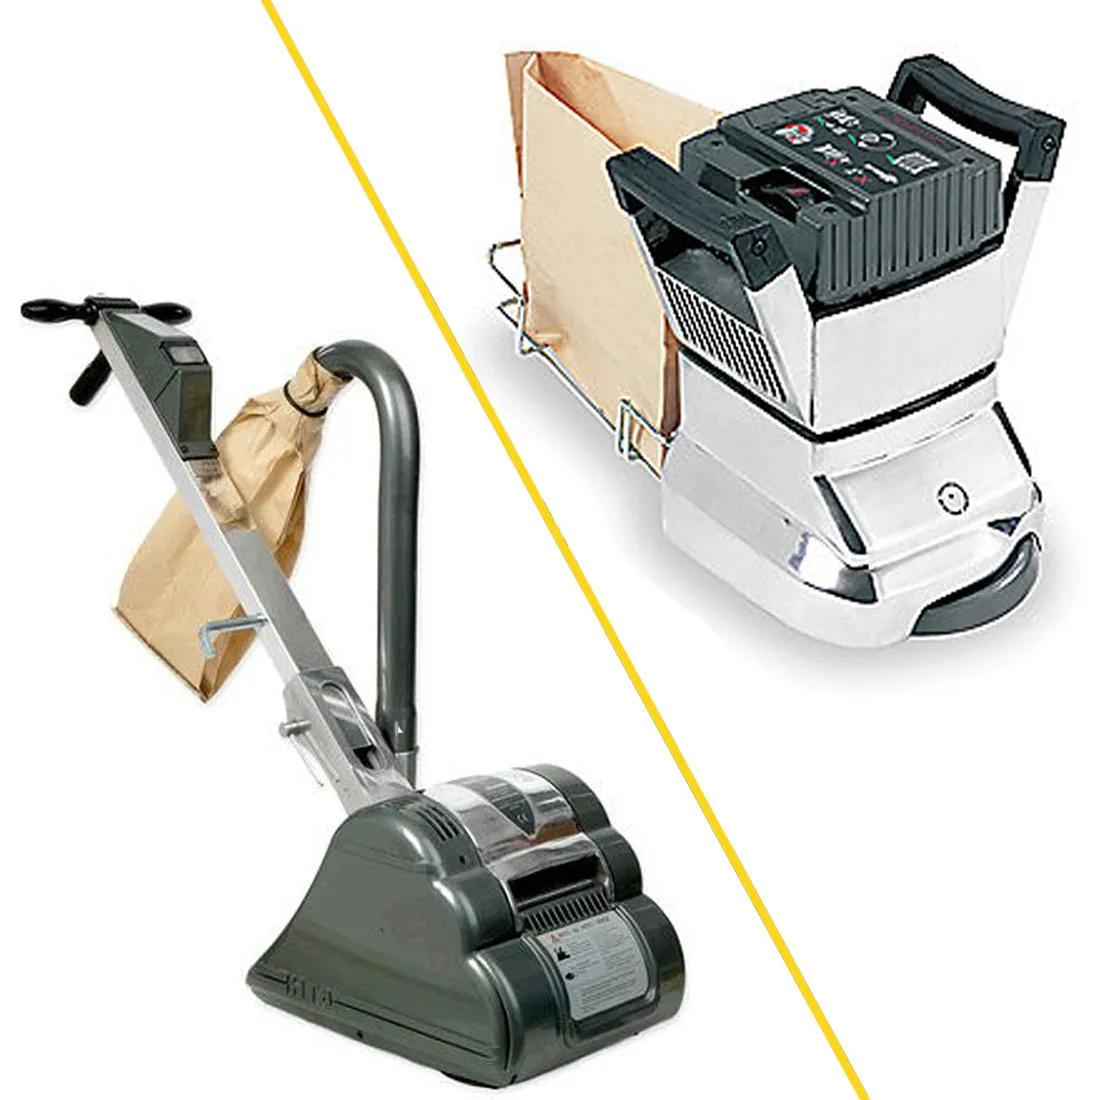
The Drum Floor Sander (Hiretech HT8): An upright machine with a rotating drum at the base on which the sanding sheet is wrapped. The drum rolls along the floor, stripping old varnish, stains and surface damage from hardwood and softwood boards. It covers large open areas quickly and efficiently, working through grit sequences from coarse to fine. This is the machine that does the heavy work on the main floor surface. It cannot get its drum within approximately 10cm of a skirting board - the machine body physically prevents it.
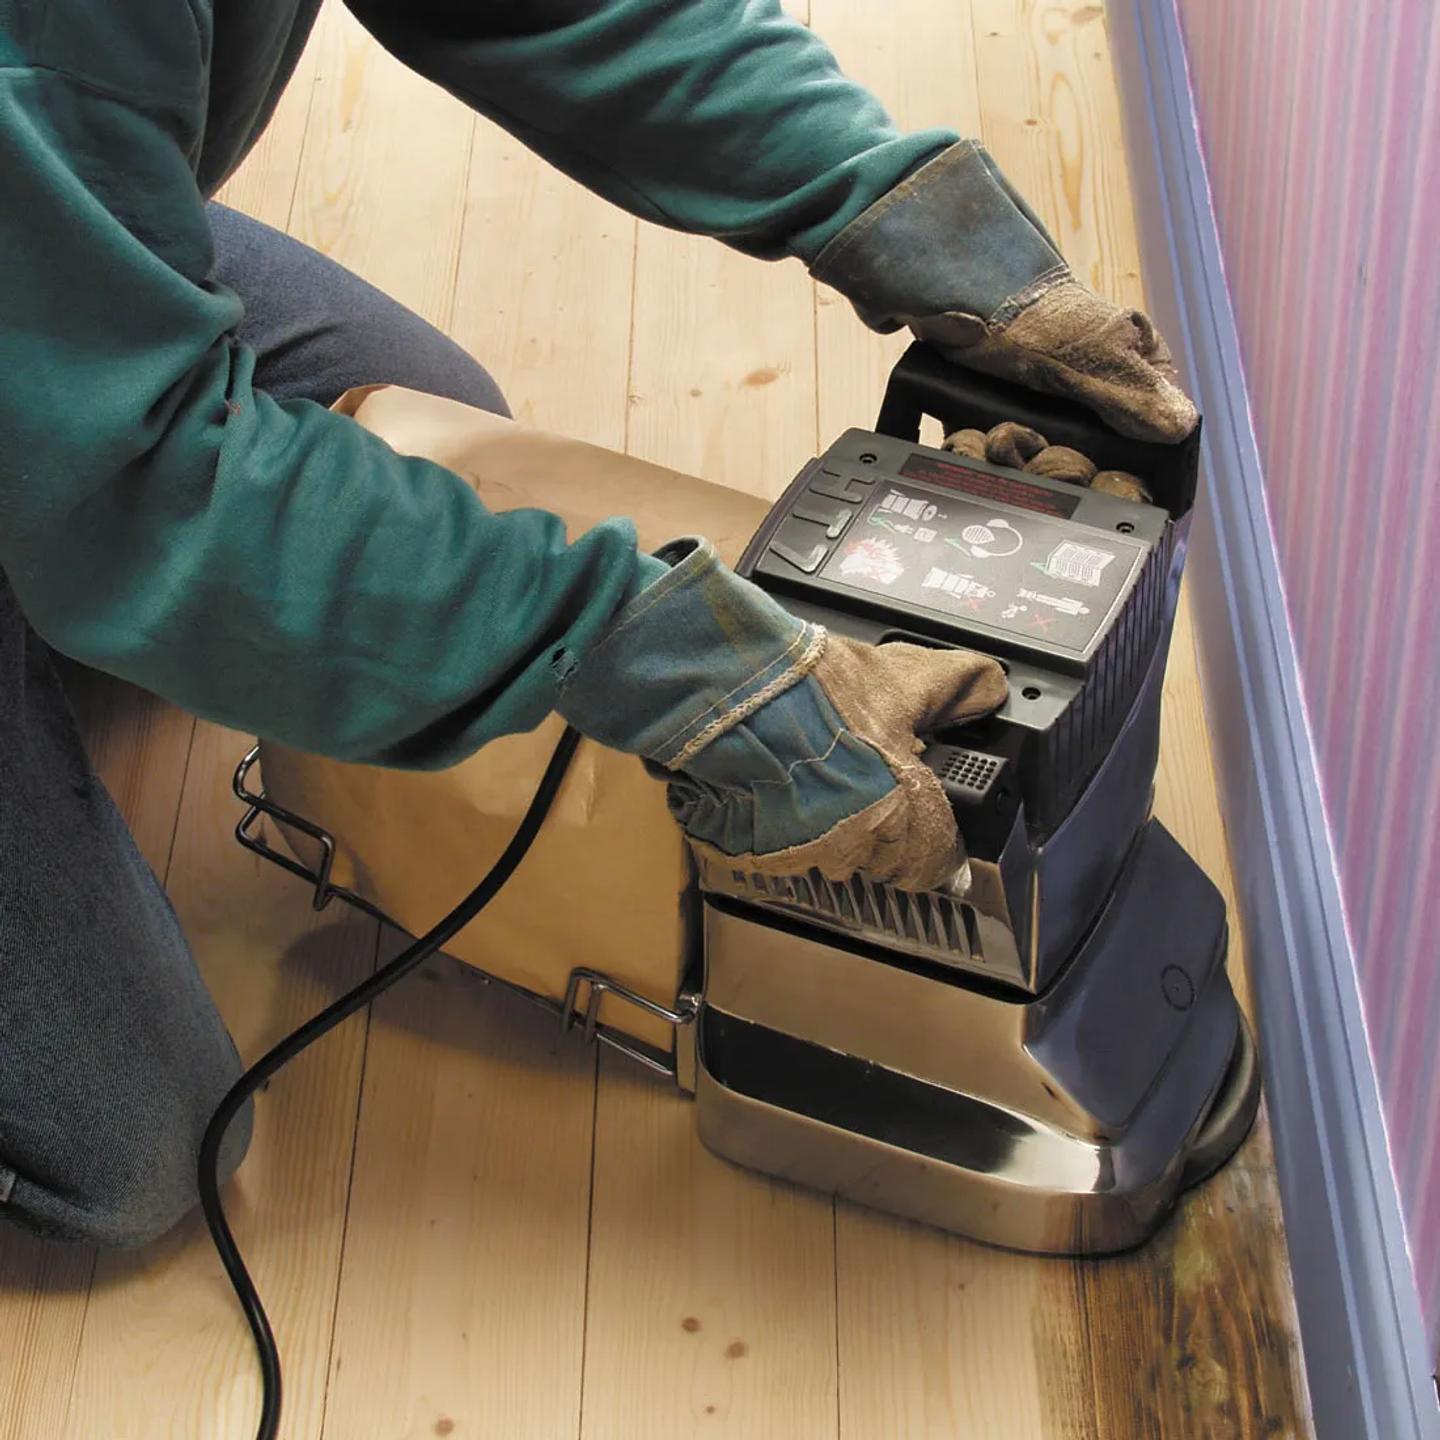
The Floor Edge Sander: A disc-based machine specifically designed for the perimeter of the room - the strip of floor the drum sander cannot reach. It sits low and can get right up to the skirting board, into doorway reveals and under radiators. It also handles stair treads; inside wardrobes and any other tight spot the drum can't access. It's smaller and lighter than the drum sander, but don't underestimate it - the edges need the same grit sequence as the main floor and the edge sander is the only tool that delivers a power-tool result in those areas.
Do You Actually Need Both? Yes. Here's Why.
The short version: a drum sander without an edge sander leaves a visible border of old finish around the entire room. An edge sander without a drum sander would take approximately three times as long to do the main floor and produce a less consistent result.
They're a pair. One does the main floor; one does the perimeter. Together they cover every part of the floor surface. The floor and edge sander hire pack from HSS DIY exists specifically because this is how floor sanding works - you need both, and hiring the pack is cheaper than hiring them separately.
The only exception: very small areas - a single stair tread, a small cupboard floor, a narrow hallway under about 1.5m wide. In those situations, the edge sander on its own can do the whole job. If you're sanding a room of any normal size, hire both.
The Right Order of Work - Edge First, Then Drum
Saturday Morning- Preparation (2-3 hrs): Clear the room, punch all nails below the surface, secure any loose boards, fill gaps. Cover sockets and switches with masking tape. Open windows. PPE on.
Saturday Afternoon- Coarse Pass, Edges First (3-4 hrs): Start with the edge sander around the full perimeter on coarse grit. Then switch to the drum sander for the main floor area. The edge sander goes first so any marks it leaves at the border are removed when the drum passes over them.
Sunday Morning- Medium and Fine Passes (2-3 hrs): Repeat the sequence - edge sander on the perimeter (medium, then fine), drum sander on the main floor (medium, then fine). Vacuum between each grit. The floor should look ready to finish by this point.
Sunday Afternoon- Finish and Seal (2-3 hrs + drying): Final vacuum and tack cloth wipe. Apply first coat of varnish, oil or wax. Allow to dry. Apply second coat. Both machines returned on Monday - clean of dust and debris.
Hire Both from HSS DIY - Here's What to Book
🔄 Drum Floor Sander (Hiretech HT8) | 240V | £42.40/day | RCD breaker included
Best for: The main floor area - any room with a normal-sized open floor space
The workhorse for the main floor surface. 8-inch rotating drum strips old varnish, paint and stains from hardwood and softwood boards and levels uneven surfaces. Heavy-duty motor that won't stall on coarse grit sheets. Breaks into three components for transport. 5-metre cable. Must be used with a dust bag (buy at checkout). HAVS limit: 2 hours continuous operation - take regular breaks.
⭕ Floor EdgeSander | 240V | Disc-based | For the perimeter the drum can't reach
Best for: Skirting boards, room perimeter, stair treads, tight spaces, doorway reveals
A disc-based sander designed specifically for the areas the drum floor sander cannot access. Gets right up to skirting boards on all four sides of the room, into corners and under radiators. Lighter and more manoeuvrable than the drum sander. Edger discs sold separately - use the same grit sequence (coarse, medium, fine) as the drum. Lower vibration than the drum sander.
📦 Floor and Edge Sander HirePack | Both machines | Best value | Everything in one booking
Best for: Anyone sanding a full room or more - the only sensible option for a complete floor
Hire both the drum floor sander and edge sander together. Cheaper than booking them separately. Single booking, single delivery, everything arrives together. Add sanding sheets (belt for the drum, discs for the edger), dust bags and floor finish at checkout. Unused sanding sheets refunded on return. This is the hire that does the whole job.
Hire Floor and Edge Sander Pack
How to Use the Drum Sander and Edge Sander Together
The order matters - do the edges first on every grit pass, then the drum:
- Edge sander- coarse grit around the perimeter. Start with the edge sander and work around the full perimeter of the room on coarse grit. This gets the old finish off the border first.
- Drum sander- coarse grit on the main floor. Run the drum sander across the main floor area on coarse grit. The drum will slightly overlap the border zone, removing any edge sander marks at the junction between the two areas.
- Vacuum. Thoroughly. Remove all coarse grit dust before loading the next grit. Coarse dust under a medium pass scratches the work you've just done.
- Repeat with medium grit- edges first, then drum. Same sequence, medium grit. The floor should look significantly smoother after this pass.
- Repeat with fine grit- edges first, then drum. Final grit pass. By the end of this the floor should look consistent, smooth and ready to finish.
- Final vacuum and tack cloth. Vacuum the whole floor, then wipe with a tack cloth to remove the fine dust the vacuum misses. This is the surface your varnish, oil or wax goes onto - take it seriously.
Hire or Buy? The Maths Is Clear
A professional-grade drum floor sander costs upwards of £500 to buy - and that's a consumer model, not the same spec as the Hiretech HT8 hired from HSS DIY. The edge sander adds another couple of hundred pounds on top. You'd need to sand a meaningful number of rooms to get anywhere near breaking even on the purchase.
Hiring gives you professional-grade machines for the cost of a day or weekend's use. The unused sanding sheets are refunded. The machine goes back when the job is done. The whole thing fits in a weekend.
Watch Before You Start
Both the drum sander and edge sander product pages on hss.mom include how-to videos. These are worth watching the evening before the hire arrives.
- HSS DIY YouTube — youtube.com/@HSSDIY — Equipment guides from The Home of Great Projects. The floor sander product page includes a how-to video covering both the drum and edge sander.
- HSS DIY Guide to Floor Sanding — Step-by-step guide including the complete grit sequence, technique tips and how to load sheets and discs into both machines.
Case Study: Edging Sander Makes or Breaks a Floor - The Border Problem
The situation: A homeowner hired just the drum floor sander for their first-floor sanding project - a bedroom with original pine floorboards. The main floor area came up beautifully in a day. But around the perimeter - the 10-12cm strip the drum can't reach - the old varnish was still intact and the colour difference between the main sanded area and the untouched border was obvious even under two coats of new varnish.
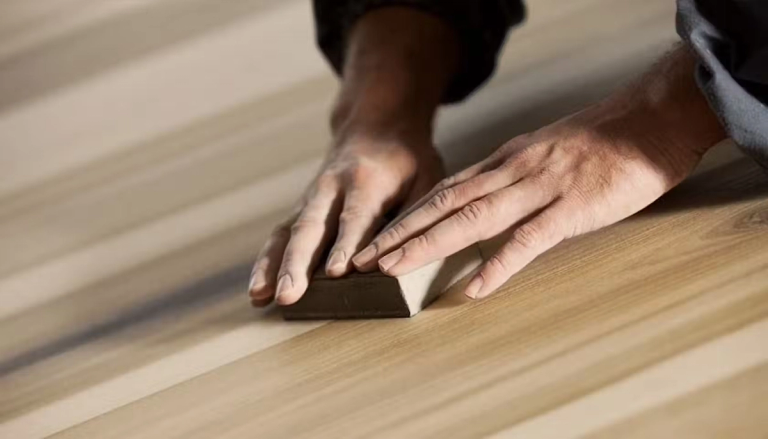
The problem: The drum floor sander cannot physically get its drum to within about 10cm of the skirting board. Trying to sand that zone by hand with a sanding block takes an enormous amount of effort and still doesn't produce the same result as a power tool. The border is visible, particularly when light catches the floor at an angle.
The fix: A second hire weekend with the edge sander. The perimeter was done in under two hours. With fresh varnish applied over the whole floor, it looked exactly right - consistent colour and finish across the entire surface. The second hire cost less than the first because it was a shorter job.
The lesson: Hire both machines from the start. The floor and edge sander hire pack costs less than the two machines separately. The extra time and money of a second hire weekend because you skipped the edge sander the first time is significantly more expensive than just booking the pack to begin with.
Safety - Read Before Switching On
Floor sanding is one of those projects that looks safe until it isn't. Wood dust, vibration and noise are the three things that cause problems. Here's what to know before the machine starts:
- Wood dust is a health hazard- not just a nuisance: fine wood dust, particularly from hardwoods, is classified as a respiratory hazard and a known carcinogen under UK COSHH regulations. Wear an FFP2 dust mask throughout the entire sanding process including vacuuming and clean-up
- EN 166.B goggles: both the drum sander and edge sander throw fine particles and occasional splinters. Eye protection is straightforward to wear and non-negotiable. Spectacles are not goggles
- Ear defenders for the full duration: both machines produce significant noise levels. The drum sander in particular runs at over 90dB. Sustained exposure causes hearing damage. Wear ear defenders every time the machine is running
- Vibration- 2 hour limit on the drum sander: due to medium vibration risk, the drum floor sander reaches the HSE Exposure Limit Value (ELV) at 2 hours of continuous operation. Take a proper break - switch to edge sander work, vacuum, or step away from the machines entirely. The edge sander has lower vibration and can fill the break productively
- RCD protection: both machines run at 240V. An RCD safety breaker comes with the drum sander hire as standard. Plug through the RCD before the mains. For the edge sander, an RCD is recommended but check the hire specification
- Ventilate the room throughout: open all windows before starting and keep them open. Never sand in a sealed room. Wood dust in a sealed room accumulates quickly and creates both a health hazard and a fire risk
- Dust bag mandatory on the drum sander: the drum floor sander must only be used with a disposable dust bag fitted. Never run it without one. The dust volume without a bag is immediate and significant. The dust bag is also a fire risk if it overheats - check it regularly and empty or replace when full
Full safety guidance on both machine product pages at hss.mom. PPE — dust masks, goggles, ear defenders, gloves — available to buy at HSS DIY alongside your hire booking.
Drum Sander and Edge Sander Hire - Complete Project Checklist
Before booking:
- Floor type confirmed: hardwood, softwood, parquet, block or engineered wood. NOT laminate, vinyl or LVT - these cannot be sanded with a drum floor sander
- Both machines on order: drum floor sander AND edge sander. Hire the pack - it costs less than the two separately
- Sanding sheets ordered: at least 3 per grit (coarse/medium/fine) for the drum. Edger discs ordered for the edge sander. Unused returned for a refund - order generously
- Dust bags on order: mandatory. The drum sander must not be used without a dust bag fitted
- PPE ready: FFP2 dust mask, EN 166.B goggles, ear defenders, gloves
Before you start sanding:
- All nails punched below surface: every single one. A protruding nail tears a sanding sheet and potentially damages the drum. Check twice
- Loose boards fixed: screw down any lifting or squeaky boards before sanding - much harder to fix after
- Gaps filled: flexible filler or sawdust/PVA paste for gaps between boards. Fully dry before sanding over
- Room cleared and sockets taped: all furniture out, all sockets and switches covered with masking tape, windows open
Order of work:
- Edge sander first on each pass: do the perimeter with the edge sander before the drum. The drum's subsequent pass removes any edge sander marks at the border
- Sand along the grain: always with the direction of the boards, not across. On badly uneven floors only: first pass can be diagonal at 45°, then return to grain direction
- Never let the drum rest stationary: lower it as you move forward, raise it before stopping. A stationary drum creates a dip in the floor in seconds
- Vacuum between every grit change: coarse grit particles left on the floor scratch the medium pass. Take two minutes. Do it every time
- HAVS break after 2 hours: the drum sander reaches the vibration ELV at 2 hours. Take a proper break - use this time to do the edge sander work.
Hire Both. Sand the Whole Floor. Feel Smug About It.
The drum floor sander and the edge sander are a team. One does the main floor, one does the perimeter. Together they cover every square centimetre of the surface and produce a consistent result that looks like a professional did it - because you used professional tools.
Book the floor and edge sander hire pack from HSS DIY. Add the sanding sheets, edger discs, dust bags and your chosen floor finish in the same order. Have it all delivered next day. Sand at the weekend, return the machines on Monday, stand back and admire a floor that's genuinely been done properly.
Full beginner's guide to floor sanding: Refresh Your Floors This May — A Beginner's Guide. Grit selection guide: Which Sandpaper Grit for Floor Sanding?
Hire Both. Do the Job Once. Do It Properly.
Hire the drum floor sander, edge sander or both in the hire pack at hss.mom/hire/c/sanding-fixing/floor-sanding-equipment online 24/7, next day delivery. Add sanding sheets, edger discs, dust bags and floor finish in the same order.
Buy the materials. Hire the tools. One order. All in one place.
Get DIY Happy.
Frequently Asked Questions
Do I really need both a drum sander and an edge sander?
Yes, if you want a complete professional finish across the whole floor. The drum floor sander cannot physically reach within about 10cm of the skirting board - that strip around the perimeter has to be done with the edge sander. Without it, you're either doing the edges by hand with a sanding block (slow, tiring, inconsistent result) or leaving a visible border of old varnish around the room that shows clearly once the new finish goes on. The floor and edge sander hire pack from HSS DIY includes both and costs less than hiring them separately.
How much does it cost to hire a floor sander from HSS DIY?
The drum floor sander (Hiretech HT8) hires from £42.40 per day. The edge sander is available separately at a lower day rate. The floor and edge sander hire pack - which includes both machines - is the most cost-effective option for anyone doing a complete room, and most customers find a weekend hire covers the full project. Sanding sheets start from £1.30 per sheet, and any unused sheets are refunded when you return the hire. Verify current pricing at hss.mom — rates can vary.
Which machine should I use first - the drum sander or the edge sander?
Do the edges first on each grit pass, then the drum sander on the main floor. This matters because the drum sander's subsequent pass over the floor will run slightly over the border area, removing any marks the edge sander left at the perimeter. If you do the drum sander first and then the edge sander afterwards, you risk leaving edge sander disc marks at the border that aren't then cleaned up by the drum. Edges first, drum second, on every grit - coarse, medium and fine.
What floor types can I use the drum sander and edge sander on?
Both machines work on solid hardwood floorboards, softwood floorboards (the most common type in older UK properties), traditional parquet and wood block flooring, and most engineered wood flooring with a veneer of at least 3-4mm. Neither can be used on laminate, vinyl or LVT - these have surface layers too thin to sand safely and will be destroyed. If you're not sure whether your floor is solid or engineered wood, check the edge at a doorway - solid wood is consistent all the way through; engineered wood shows a thin veneer over plywood layers.
Why do I need to do multiple grit passes with both machines?
Because each grit removes the scratches left by the previous one. Coarse grit (36-40) strips the old finish and levels the surface but leaves significant scratching. Medium grit (60-80) removes those scratches and smooths the surface. Fine grit (100-120) prepares a smooth, consistent surface for the finish coat. Skipping any grit - particularly the medium pass - leaves scratches that are visible under varnish, especially when light catches the floor at an angle. The sequence applies to both the drum and the edge sander on every pass.
How long does floor sanding take with both machines?
In a standard bedroom or living room (roughly 15-20m²), three grit passes with both machines takes approximately one to one and a half days of work - meaning a full weekend hire covers the sanding and gives you the afternoon of day two for the finish. Larger rooms, heavily varnished floors or floors that need levelling will take longer on the coarse pass. The HSS DIY guide to floor sanding at hss.mom/blog/flooring/hss-guide-floor-sanding gives a full step-by-step timeline based on room size and floor condition.
Useful External Sources
HSS DIY Guide to Floor Sanding: hss.mom/blog/flooring/hss-guide-floor-sanding — HSS DIY's own step-by-step floor sanding guide, including grit selection, technique and finishing advice. The definitive reference for this project.
HSE — Wood Dust Health Risks: hse.gov.uk/woodworking/dust.htm — Official UK regulatory guidance on wood dust exposure limits, health risks and required protective measures under COSHH.
HSE — HAVS and Vibrating Tools: hse.gov.uk/vibration/hav — Guidance on hand-arm vibration from power tools, including the 2-hour ELV relevant to the drum floor sander.
HSS DIY YouTube: youtube.com/@HSSDIY — How-to guides and project content from The Home of Great Projects. The floor sander product page includes a how-to video
Prices shown are indicative hire and buy rates as of 15 May 2026 and subject to change. Always check hss.mom for current pricing. HSS ProService Ltd.