


















⏱ Read time: 5 min 📊 Difficulty: Beginner 🔧 Time to build: 1 days 👷 Manpower: 1 person
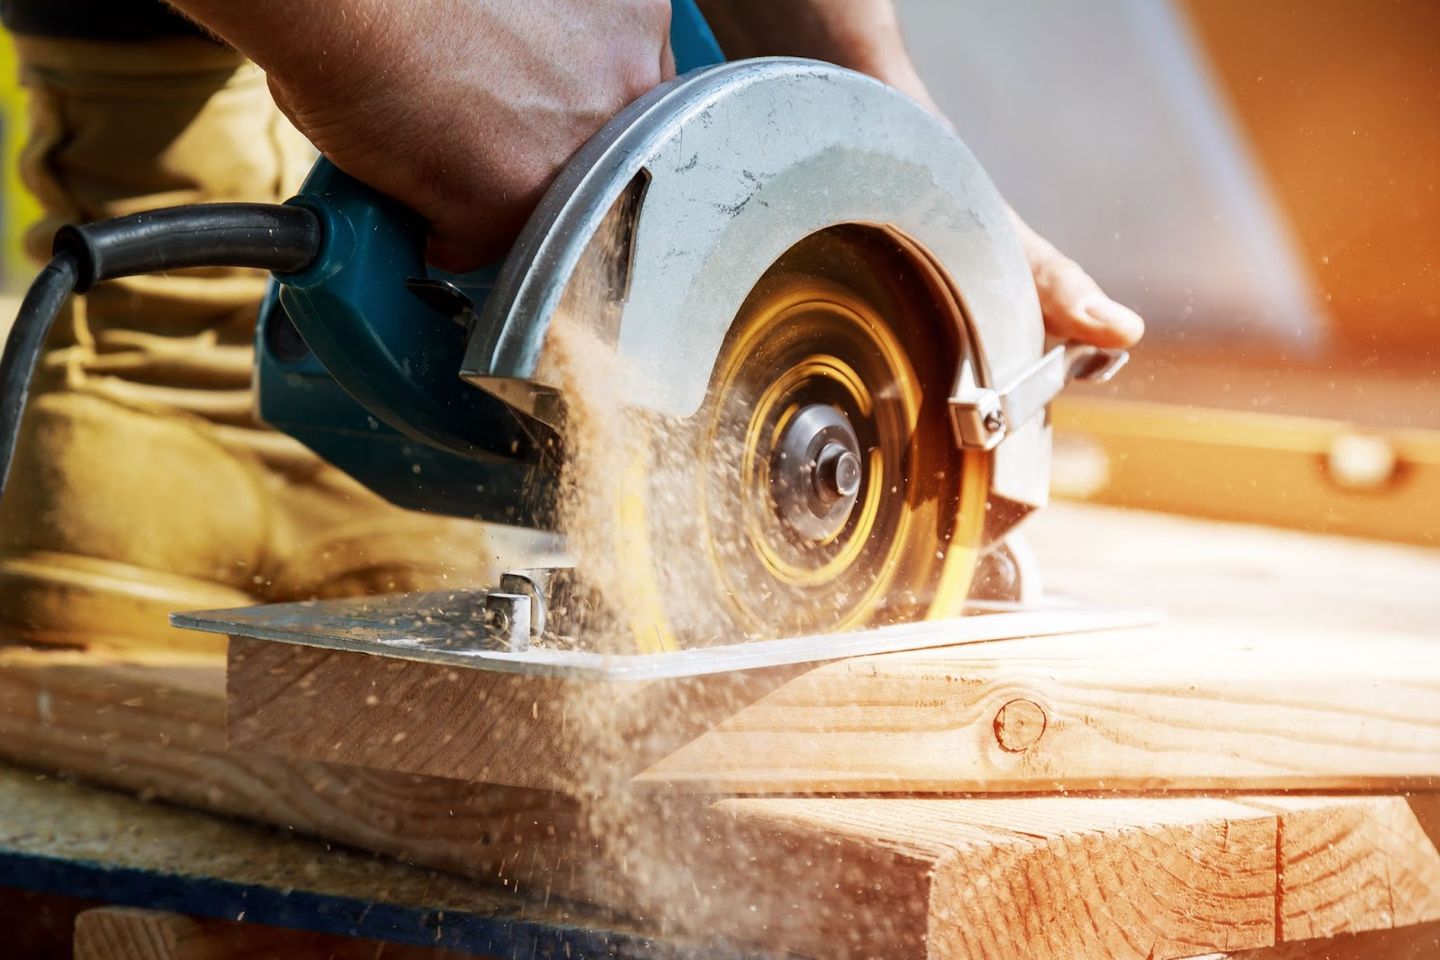
The mitre saw has a bit of a reputation for being intimidating. It's fast, it's loud, it cuts through timber like it's not there, and the first time you use one it's natural to approach it with a bit of caution. That caution is exactly right. A mitre saw operated correctly is efficient, accurate and perfectly safe. One operated carelessly is not.
This guide covers everything a first-timer needs to know: how to set the saw up, how to make a safe, accurate cut, what PPE you need, and the specific measurements for cutting timber for a raised bed. By the time the first cut is done, the whole process will feel entirely manageable.
Which Mitre Saw Do You Need for a Raised Bed Build?
For a standard raised bed - straight cuts at 90° across timber lengths - the crosscut mitre saw (sometimes called a chop saw) is the right hire. It makes clean, square crosscuts quickly and is straightforward to set up and use. You don't need the bevel function or compound cuts for a basic raised bed frame - those are for more complex joinery work.
If you're building multiple beds with more complex joints, or if you want to mitre the corners of the frame for a cleaner look, the double bevel mitre saw handles compound cuts and gives you more flexibility. For a first project, the crosscut model is plenty.
🪚Crosscut Mitre Chop Saw (110v)|Hire — from ~£30/day
The right saw for a raised bed build. Clean, square crosscuts on timber. 216mm blade, positive stops at common angles, sliding fence for accuracy. Straightforward to use for a first-timer and exactly what the job requires.
🪚Double Bevel Mitre Saw|Hire — from ~£40/day
For compound cuts, angled joints and more ambitious designs. 305mm blade, left and right bevel, sliding fence. More versatility than the crosscut model if you're building several beds or want more precise corner joints.
Browse all timber cutting hire: hss.mom/hire/c/sawing-cutting/timber-cutting
PPE - What You Need Before the Saw Starts
- Safety goggles: timber cutting throws fine sawdust and occasional splinters. Goggles are straightforward to wear and genuinely necessary
- Ear defenders: a mitre saw is loud. Not 'slightly annoying' loud — proper, sustained, hearing-damage-risk loud. Wear ear defenders for every cut, not just after the first one has reminded you
- Dust mask (FFP2): particularly important when cutting treated timber, which contains preservative chemicals. Fine sawdust from treated wood should not be inhaled regularly
- Work gloves: light work gloves protect against splinters when handling cut timber. Take them off when operating the saw — you need to feel the workpiece and the handle properly
Setting Up the Saw
- Find a stable surface. The saw needs to be on a solid, level workbench or table at a comfortable working height - roughly waist height. Not on the floor, and not on something that wobbles. The saw clamps to a surface in most hire models, or you can use the built-in feet on a flat board.
- Check the blade guard. The guard should move freely when you lower the handle and return to cover the blade when you raise it. Don't operate the saw if the guard is damaged or stuck.
- Set the angle. For a raised bed, you want straight 90° crosscuts. The saw should be at its default position - check the angle indicator reads 0° on the mitre scale. If it's been used at an angle previously, reset it to 0° and confirm with a test cut on scrap.
- Set the fence. The sliding fence is what you hold the timber against. It should be perpendicular to the blade. Most saws have a quick check, hold a square against the blade and the fence. If they're at 90° to each other, it's set correctly.
- Do a test cut. On a piece of scrap timber before anything you've measured. One test cut confirms the angle is right, the guard is working, and you understand how the saw behaves. This is the most important step and the most commonly skipped one.
How to Make a Safe, Accurate Cut
- Measure and mark. Measure along the timber from the cut end and mark clearly with a pencil. Double-check the measurement before cutting. A mitre saw makes very precise cuts - the accuracy of your measurement determines the accuracy of the result.
- Position the timber in the fence. Flat on the saw table, pressed firmly against the fence. The cut mark should be just to the waste side of the blade - the blade itself removes a small amount of material (the 'kerf'), so position accordingly.
- Hold the timber firmly. One hand on the handle, the other holding the workpiece firmly against the fence, well clear of the blade path. Never hold the workpiece near the blade line.
- Start the blade before lowering. Squeeze the trigger and let the blade reach full speed before you bring it down to the timber. Starting the motor with the blade already touching the wood causes kickback.
- Lower the blade smoothly. Through the timber in one controlled, steady motion. Don't force it or rush it. The blade does the work, you're just guiding it.
- Raise the blade, then release the timber. Bring the blade back to its rest position before letting go of the workpiece or removing the cut piece. Wait for the blade to stop completely.
- Check the cut. Square? Match your measurement? If yes - cut the rest. If not - check the fence angle before cutting anything you've measured.
Cutting a Raised Bed Frame - The Specific Cuts
For a standard 1.8m x 0.9m raised bed (3 boards high, 150mm x 38mm timber):
- Long sides: 6 cuts at 1800mm (1.8m)
- Short ends: 6 cuts at 900mm (0.9m)note this is the inside measurement. If you want the end boards to sit inside the side boards, use 900mm. If you want them to cover the end grain of the side boards, adjust to 900mm + 2 x timber thickness (usually 38mm each side = 976mm)
- Corner posts: 4 cuts at 450mm from 75mm x 75mm post section (for a 30cm deep bed with some post below ground level)
Cut order advice: Cut all pieces of the same length in one batch - all the 1800mm side lengths first, then all the 900mm ends, then the corner posts. Stack by length and label with a pencil. Assembly is much faster when the cuts are all done and sorted.
Tip: cut one piece of each length first and check it against the others before cutting the full set. One out-of-square cut at the start wastes nothing. Discovering the fence was slightly off after cutting all 12 side lengths wastes a morning.
After the Build - Returning the Saw
Remove the blade guard is not something you do - the guard stays on and goes back with the machine. Clean sawdust from the saw table and fence with a brush. Check the blade guard is in its rest position. Return on the agreed hire end date - if your project runs long, contact HSS DIY via live chat on hss.mom to extend the hire period before it ends, not after.
Mitre Saw Safety and Setup Checklist
Before the first cut:
- Saw on stable surface: level, solid, at a comfortable working height - not on the floor
- Workpiece secured: against the fence and clamped or held firmly. Never cut freehand
- PPE on: safety goggles, ear defenders, dust mask (especially for treated timber), work gloves
- Extension cable clear: run away from the cutting area. Not looped underfoot
- Blade guard in place: check it moves freely and returns to position after each cut
- Test cut on scrap: before cutting your measured timber - one test cut confirms the angle setting is correct
For each cut:
- Measure twice: mark the cut line clearly with a pencil. Check the measurement before bringing the blade down
- Start the blade before it touches the timber: lower the running blade into the cut, don't start the motor with the blade resting on the wood
- Keep both hands clear of the blade path: one hand on the handle, the other holding the workpiece well clear of the cut line
- Complete the cut and raise the blade: bring the blade back to the top position before releasing the workpiece
- Wait for the blade to stop: completely, before lifting the cut piece or adjusting anything
One Test Cut. Then You're Ready.
The mitre saw is not complicated once you've made your first cut. Set it up properly, do a test cut on scrap, and you'll cut a full raised bed's worth of timber in under an hour. The accuracy is genuinely satisfying - every joint sits square, every corner is tight, and the finished frame looks like you knew what you were doing.
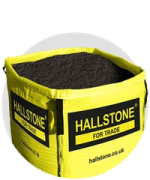
Full raised bed project guide: Build the Perfect Raised Bed from HSS DIY. For sizing: How to Choose the Right Raised Bed Size. For topsoil: What Topsoil to Use in a Raised Bed
Everything You Need in One Order
Buy timber, topsoil and materials, hire your mitre saw at hss.mom - online 24/7, next day delivery to your door.
Buy the materials. Hire the tools. One order. All in one place.
Get DIY Happy.
Frequently Asked Questions
Is a mitre saw the same as a chop saw?
In common usage, yes, the terms are used interchangeably for a compound crosscut saw with a pivoting head. Technically a 'chop saw' sometimes refers to a simpler straight crosscut model without the angle-adjusting mitre function, but in hire catalogues and DIY contexts both terms refer to the same type of machine. The crosscut mitre saw from HSS DIY is the right hire for a raised bed build regardless of which name you search for.
Do I need a 110v or 240v mitre saw?
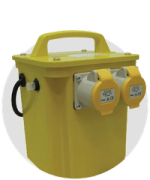
The HSS DIY crosscut mitre saw hire operates on 110v, which is the standard for site work and professional hire equipment. You'll need a 110v transformer to run it from a standard household socket. The 110v supply is a safety standard on hire equipment - it limits the shock risk if the cable is damaged during use.
How accurate are mitre saw cuts compared to using a handsaw?
Significantly more accurate, and significantly faster. A mitre saw with the fence set correctly and good timber support produces cuts that are reliably square to within fractions of a millimetre. A handsaw on a good day, by an experienced operator, comes close. A handsaw in the hands of someone who hasn't done a lot of precise cutting produces cuts that are 'good enough' at best and noticeably angled at worst. For a raised bed where you want the corners to sit square and the frame to hold its shape, the mitre saw is genuinely worth hiring for the day.
Prices shown are indicative hire and buy rates as of 15 May 2026 and subject to change. Always check hss.mom for current pricing. HSS ProService Ltd.